"Ruby" the Riley Pages: 1 2 3 4 5 6 7 8 9 10 11(new) UPDATED: 22 August 2021 |
The Historic Registration is....DONE! And as of 30/10/20 we have done several hundred km.(actually 340 miles) and yes, there have been teething problems but mostly sorted (and mostly my stupidity!) 
|
There always seems more to be done:
I haven't installed the section of wiring loom from the engine bay to the tail lights. That will allow me to take it to the heated pressure washer to get rid of a lot of a lot of grot under the back 3/4 of the car without damaging the new loom. Booked in next Wednesday 4th Nov Plus these jobs: - diff oil seals - driver's door window winder - window & door seals - leather treatment ... more to be done |
More jobs: I will have to visit: Fimac Engineering 17 Ridge St, Bega NSW again. They are able to metal spray one front hub and machine it to allow the outer bearing to seat properly. That was carried out successfully. It's great having hi-tech engineering nearby. |
|
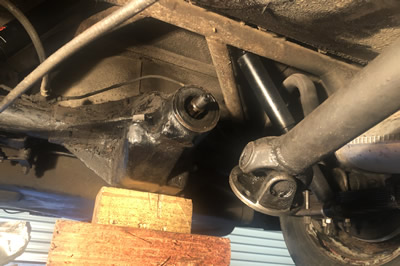
Drained and filled the gearbox - quite a civilised process actually with relatively easy access . However the gearbox needs to come out for a rebuild soon. No syncro left to speak of and some un-ladylike noises from below! |
The one below was unexpected: - the solenoid packed it in (wouldn't engage the starter from the switch). Worked fine when operated manually. Probably dud contacts. Now replaced.
 |
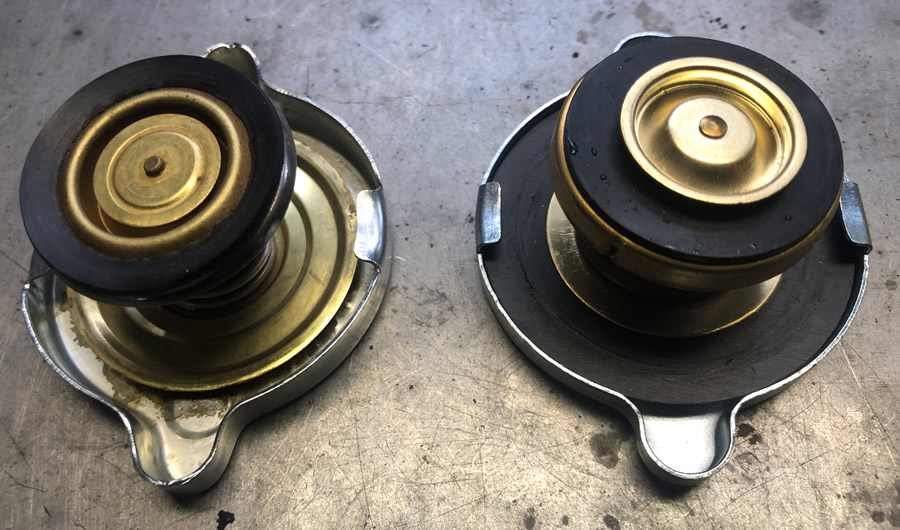
The overflow catch tank has finally arrived from o/seas via eBay. This will allow recovery of expanded coolant, providing the recovery cap ever arrives from UK  |
As indicated on the Page 6, I have elected to fit a (Davies Craig) 14" thermofan. It works fine fitted behind the radiator but I am going to move it to the front of the radiator where there is plenty of room.
The system works well and is set to keep the temperature around 170 F as dialed in on the electronic controller. I have run this system on a TR3A for many years with excellent results no matter how hot the day is. During that job I will have to remove the radiator and grill etc. |
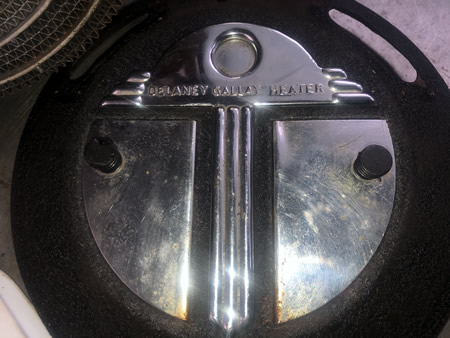
DELANEY GALLAY HEATER |
|
I was not sure if the heater would work but the fan didn't work and it looked like there was some rust in the heater body. The casing seems OK
 |
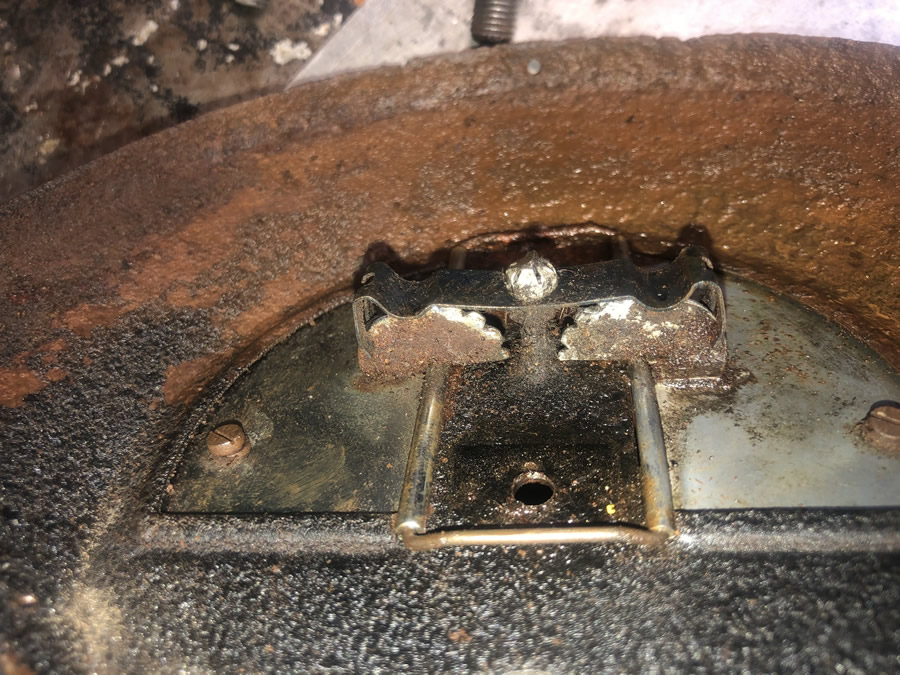
This is what holds the heater in place. I believe the corrosion in the bolts, nuts and areas below was caused by water entering the body from above due to poor sealing. The strap has to have one end straightened so that it can be pulled out of the bolt retainer (next pic)  |
This is the retainer keeping the bolt heads from rotating. The strap slides through this fixture. I will replace the bolts with Stainless steel ones (approx 2 1/2" long and 3/8" or 10mm dia). By the way, all the exposed parts are finished in crackle black paint. 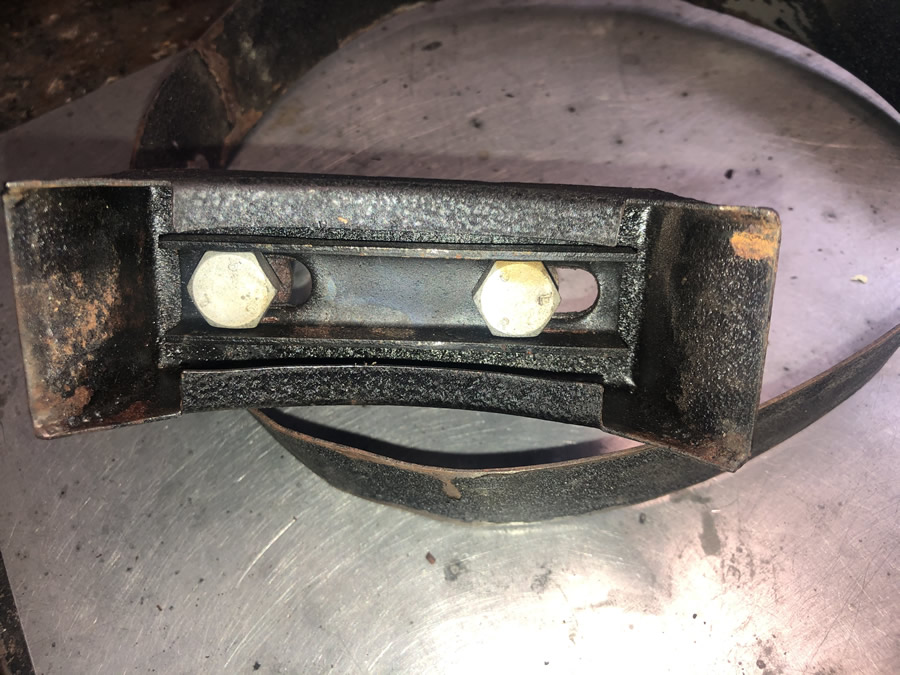 |
If you loosen the strap, it is possible to draw the heater body forward from its mounting position in the car. One outlet to the demisters has been unscrewed in this photo. 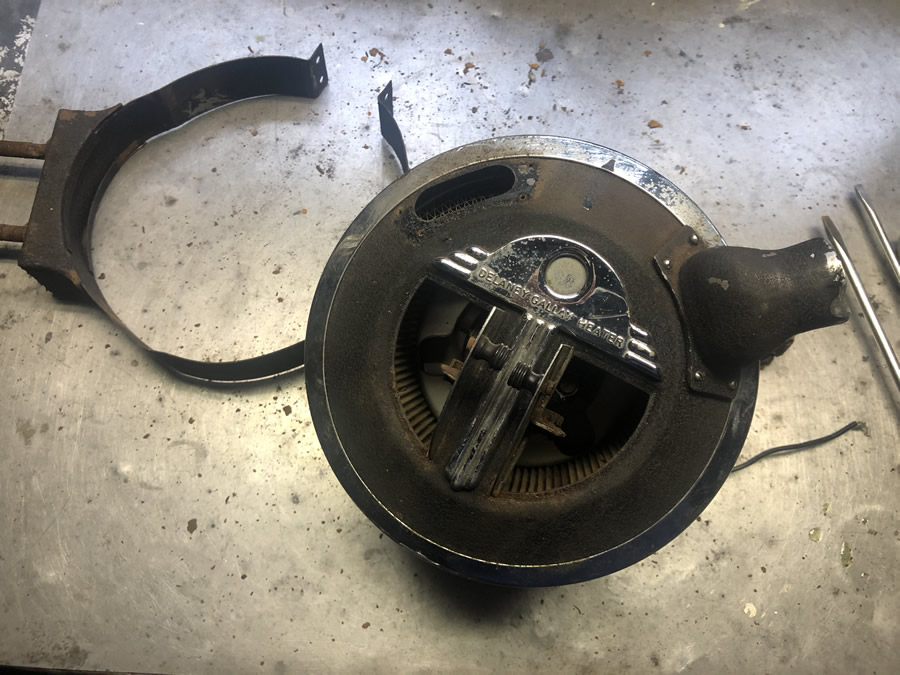 |
This is rear view and you can see the fan blades, the remnant wiring and the 2 feeder pipes. Plus evidence of rust. The wiring will be replaced. 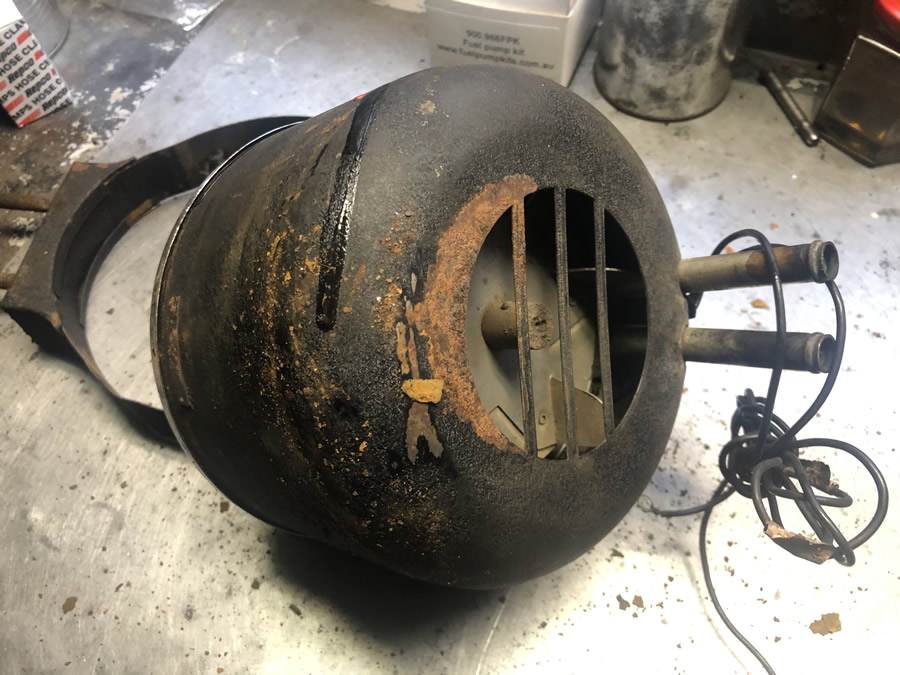 |
This was the worst bit in the process.The front cap is visible at the top in this photo. It is retained by 3 screws which may need soaking with penetrant. The front cap was very reluctant to come off due to rust. I swamped it with penetrant for hours and gently tapped around the join with a mallet.  |
I used a small piece of flat steel 1/4" thick x 1/2" wide with a nice square edge to be used as a "drift". Hold the top by threading you fingers through the various holes (use gloves?) and using the end of the drift - gently tap the exposed edge of the bottom piece with a small hammer. Work your way around again and again. Three arms or an assistant would be useful. I managed it by myself but it wasn't easy.  |
Success!!! It's off. Next you need to remove the heater coils from the body. They are really just a push fit into what appears to be cork insulation on either side of the body to hold the core securely in place . 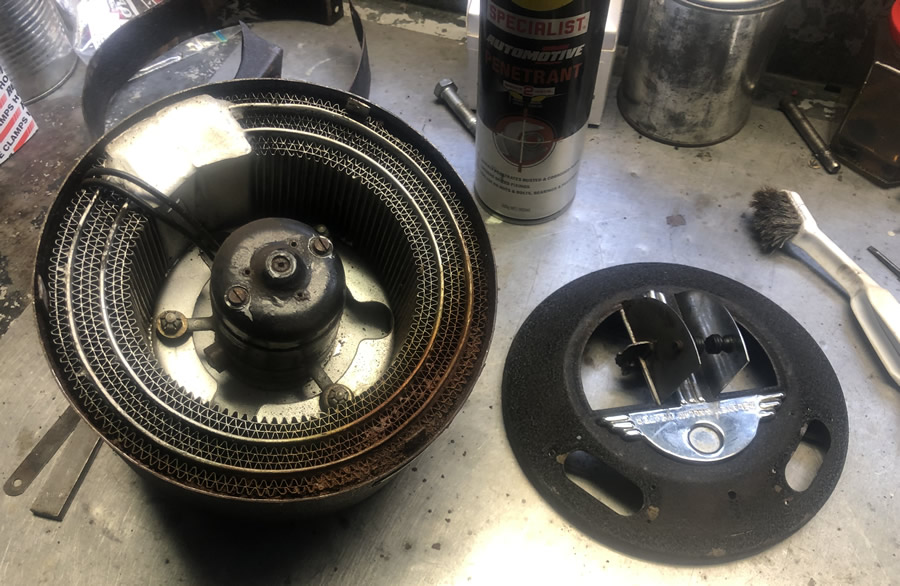 |
This shows the inside of the front cover and how there was a rust buil-up in the bottom half of that. I will remove the rust and treat the area. 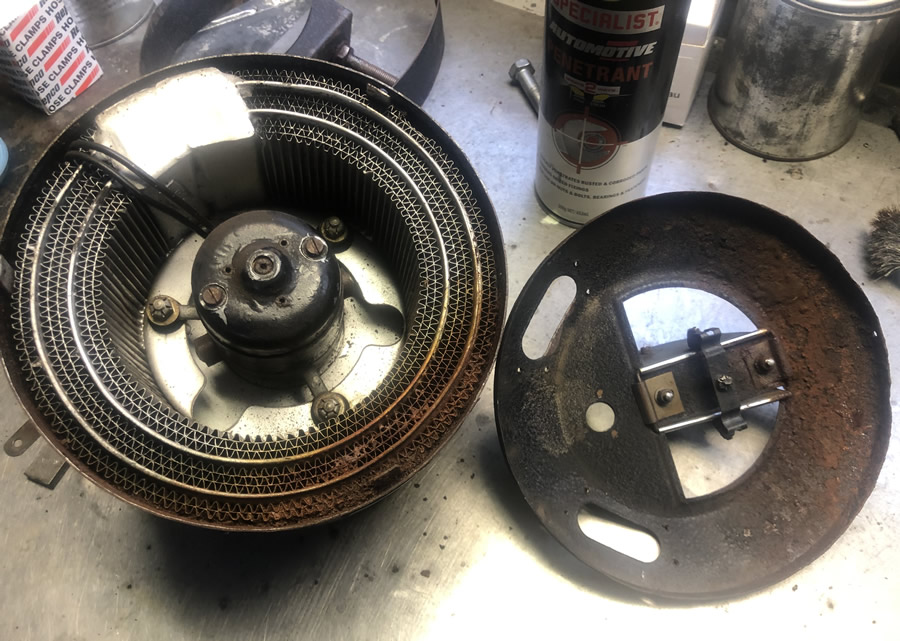 |
Showing the
build up of corrosion and gunk in the heating elements  |
You can see the cork strips glued to the edges of the casing. My next step was to remove the fan and motor by undoing the 3 retaining nuts and screws holding it. I will not reuse the fan as it is an old design and has an inefficient fan. Instead I will replace it with a modern 12V computer cooling fan. Not an original idea, I read it somewhere. 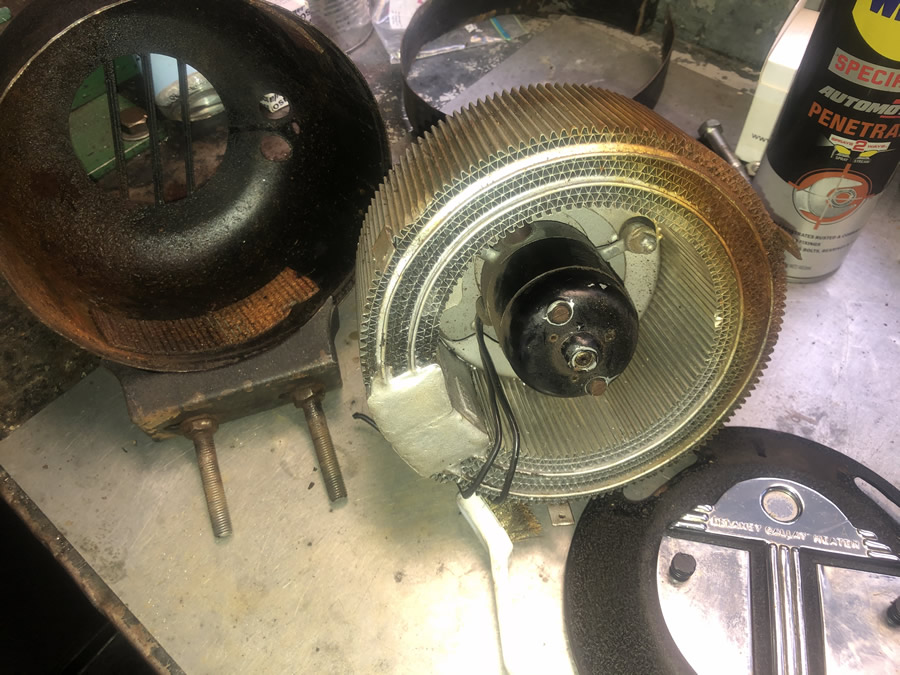 |
I cleaned the heating element with compressed air to clean out accumulated dust and rust. Two tests seemed encouraging. The inlet/outlet tubes can be seen through the core below. I used a domestic water hose on gentle pressure to flush out the system from both directions several times. No sign of a leak. I blew the remaining water out with an air line. Then I used mouth suction on one pipe and sealed the other end and it held vacuum for a considerable time. 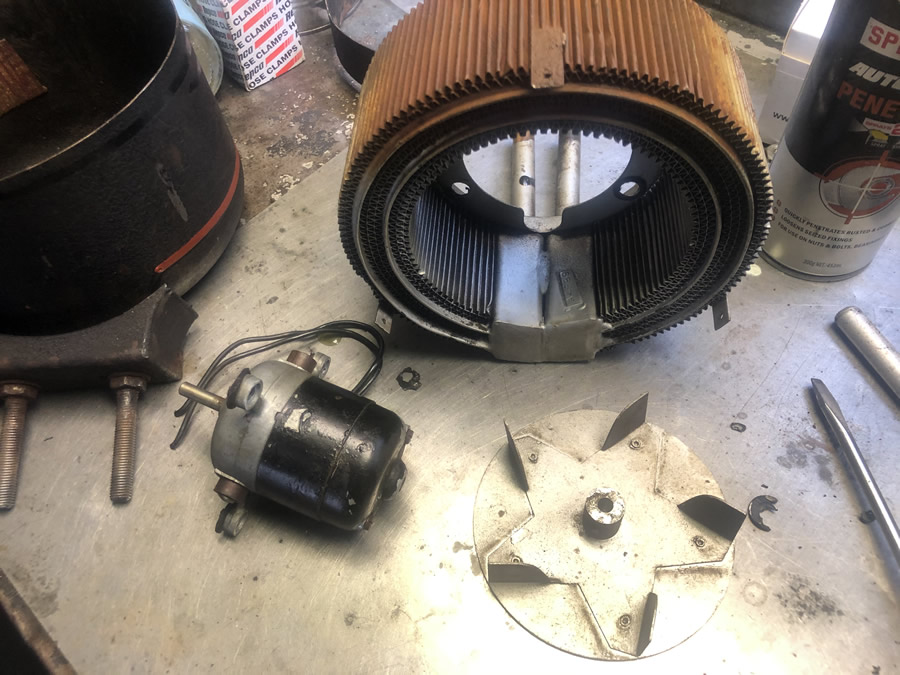 |
| A bit of work is needed inside the doors and the rusty part of the cover. The door mechanism is release by removing the central nut.
|
I will order a 12V computer fan now that I know how much space I have got and report back on the results. In the meantime, the casing has been prepared for a black crackle finish. 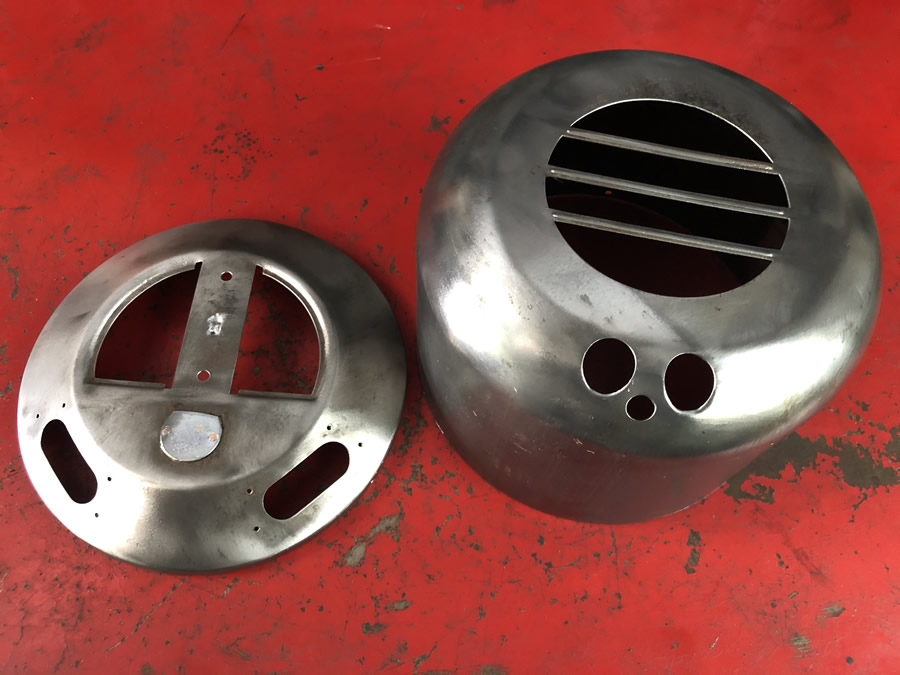 Update: the first crackle finished I tried was a disaster. I am now stripping all the paint off again to try another product. (see the successful result on the next page) |
As mentioned above, there is now a coolant recovery tank for the radiator. |
The wheels needed a bead blast and were then powder coat primed. I sprayed them with an auto enamel eye matched at "Inspiration Paints" in Bega. 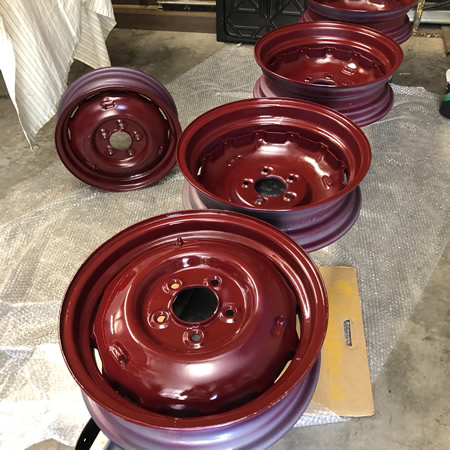 |