"Ruby" the Riley Pages: 1 2 3 4 5 6 7 8 9 10 11(new) UPDATED: 8 October 2021 |
SEVERAL STEPS BACKWARDS |
|
Very frustrating as there was loss of compression and blowback through the carburettor. |
Possibilities included some problem with the valves (quickly dismissed by |
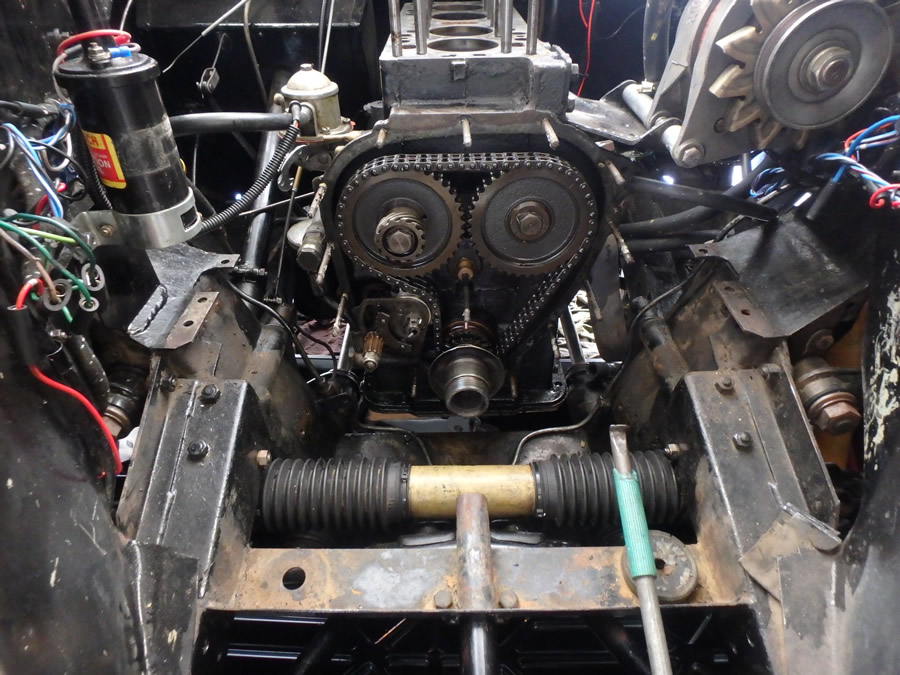
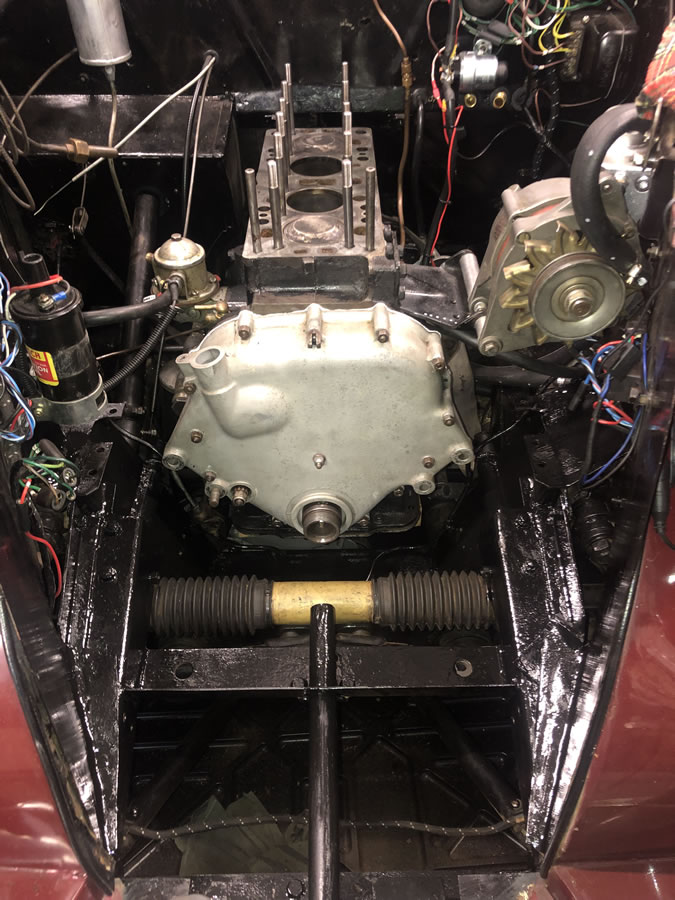
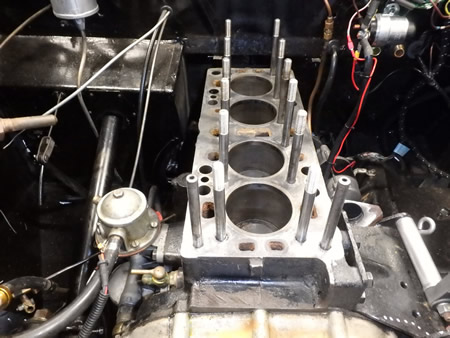
The head is part way off here. Now I can also remove & replace the timing cover which was leaking a lot of oil. The front suspension cross brace is yet to be removed (shown below). 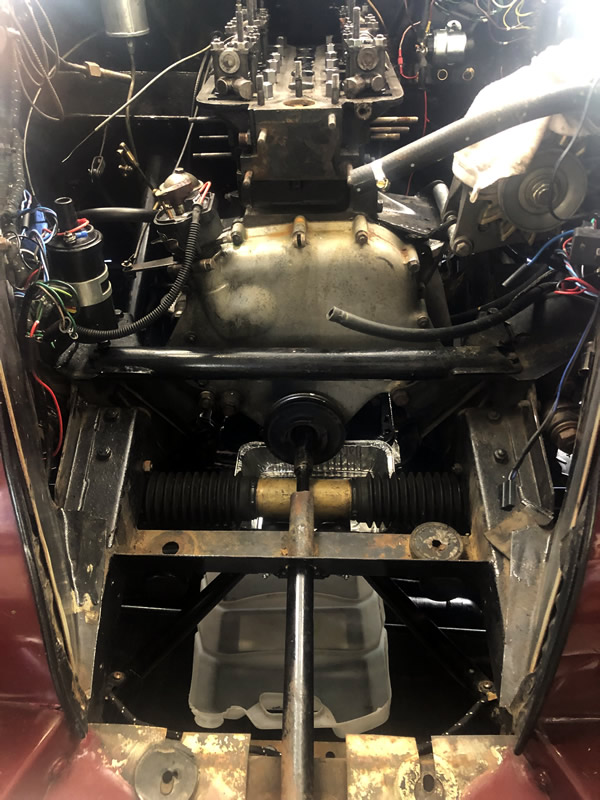 |
Click to view the blown headgasket between 1 & 2 and this was what caused the problem. Actually there is more to it than that and I will report back on the final solution. 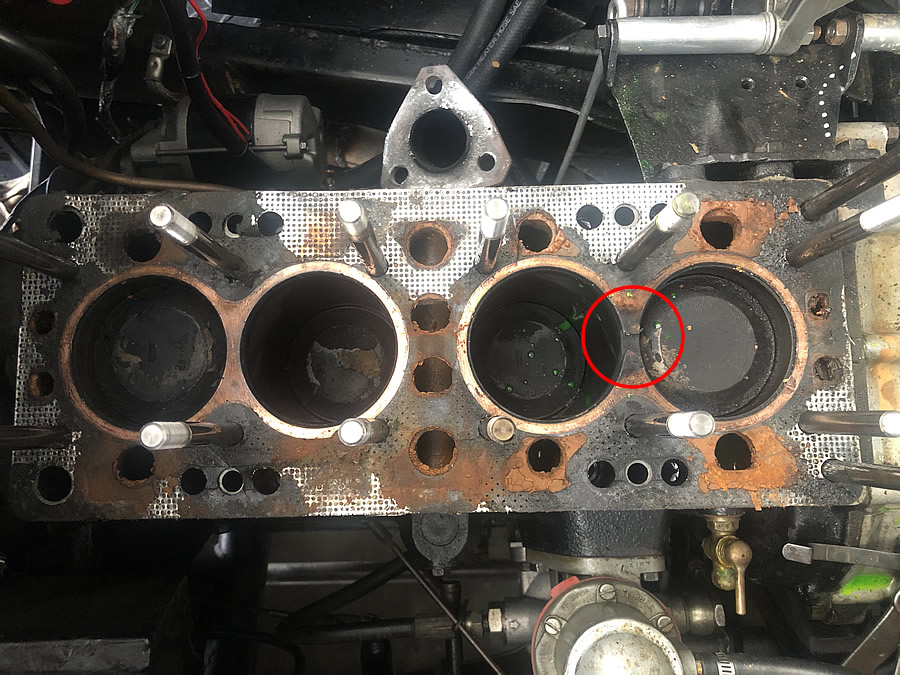 |
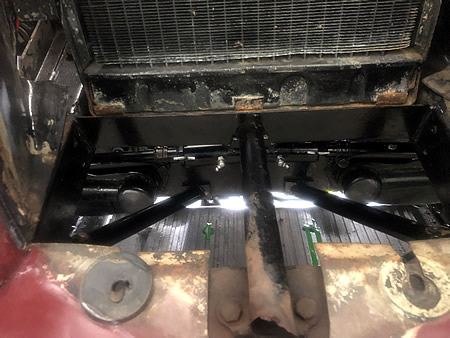
This front crossmember has to be removed before the timing cover can come off. It has been removed in the photo to the right. 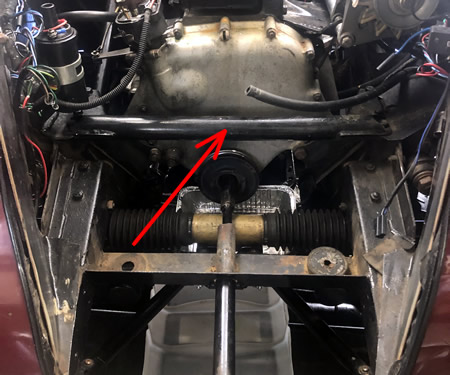 |
The cross member has been removed here by releasing the 3 machine screws each side. 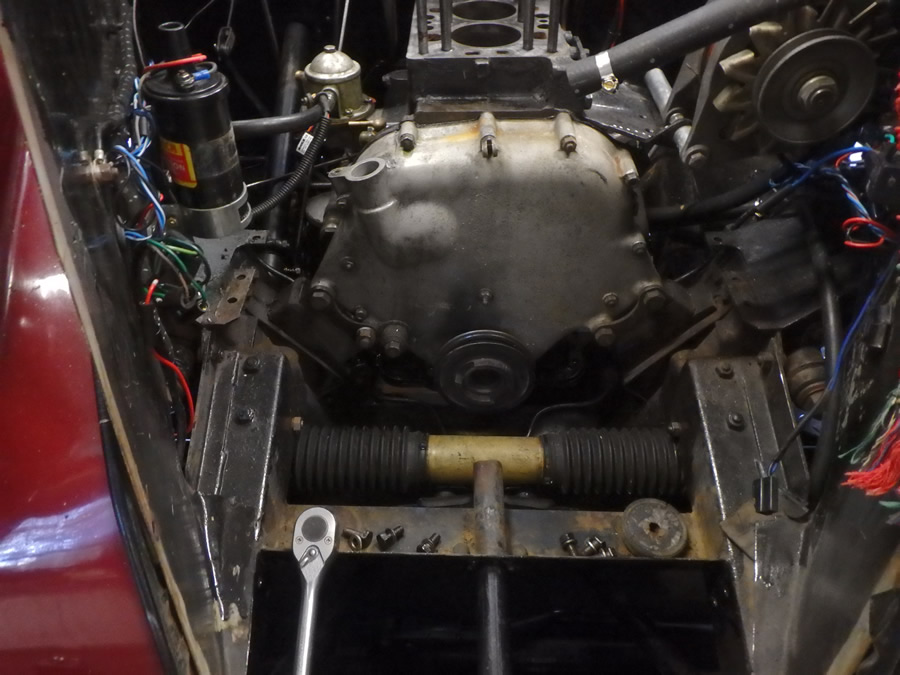 |
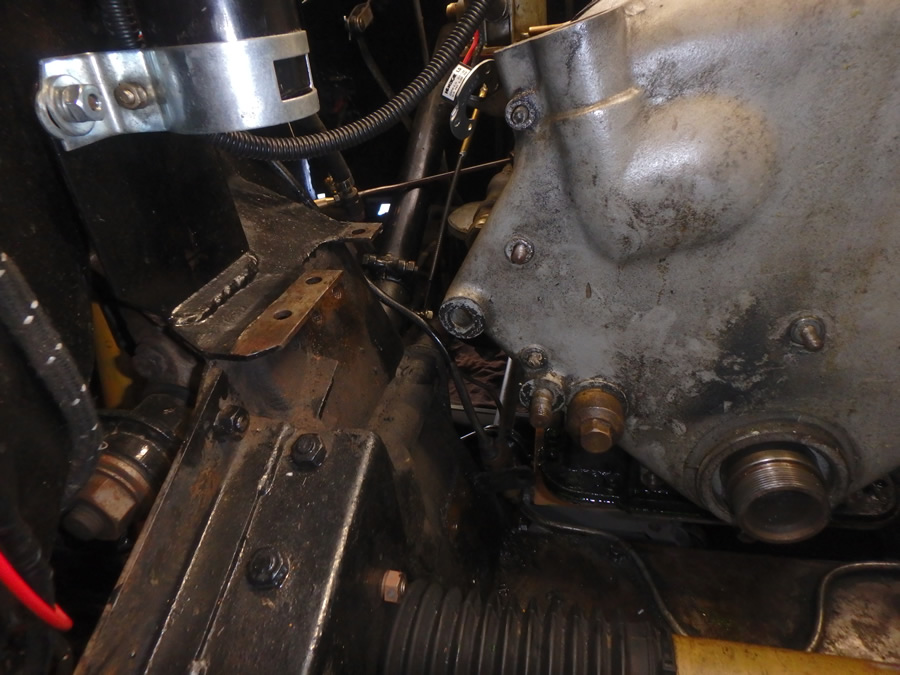
The nearside engine mount has been released from the timing cover ... 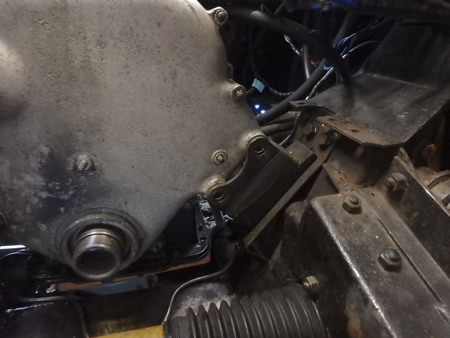 |
... and the offside engine mount has been completely removed. The engine has been supported for this operation. |
.  |
|
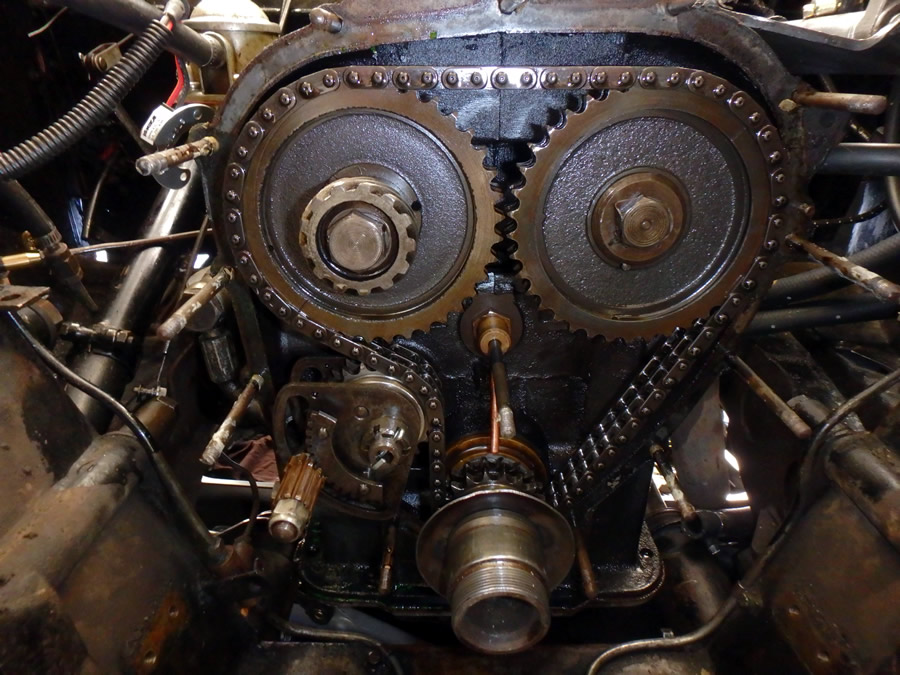
The timing cover had been fitted with a gasket which was not in good condition. I will use a sealant as per the workshop manual. |
|
The solid copper head gasket waspurchased from RIDGECREST ENGINEERING - Dromana Victoria Australia Contact Peter on 0401 889 007 He had the 1.5 L Riley on CAD and it was cut & delivered in 3 or 4 days. I have also purchased one for my TR. 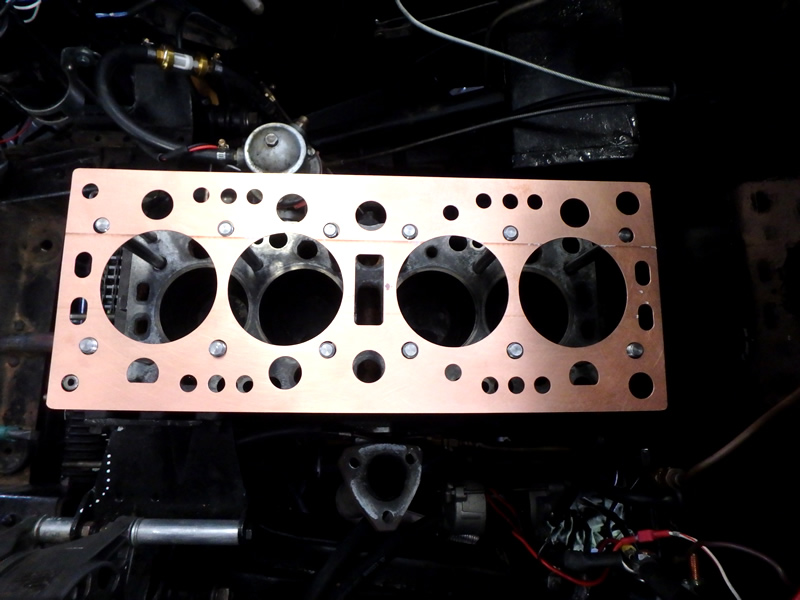 |
|
The sealant I used was the same one recommended for |
I am ready to slide the gasket and head onto the studs ...
MASS PANIC - the head has jammed halfway down the studs and would NOT go down!! I'm standing in the engine bay, lifting it up and down, checking under and around and the 7 minute suggested time has rapidly disappeared. Even help from the wife didn't move it.
|
 |
 |
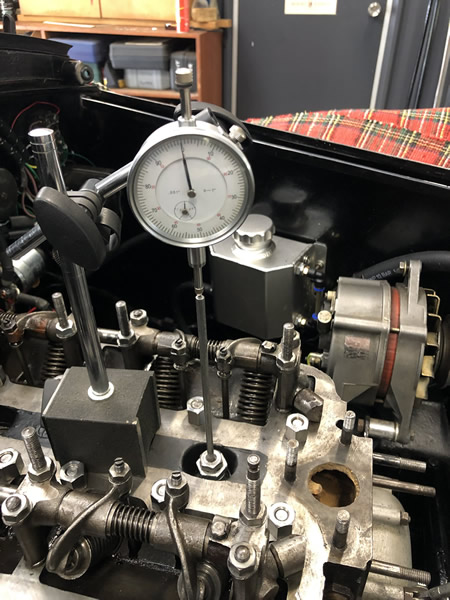 |
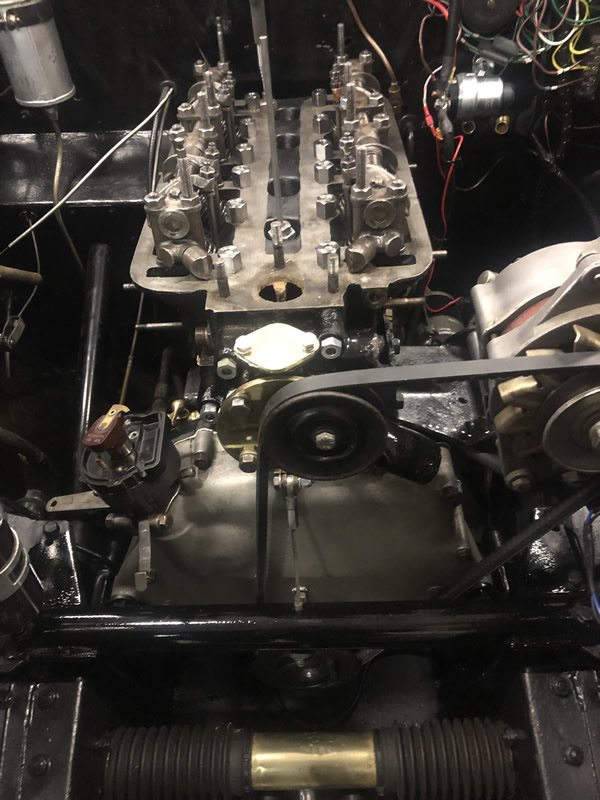
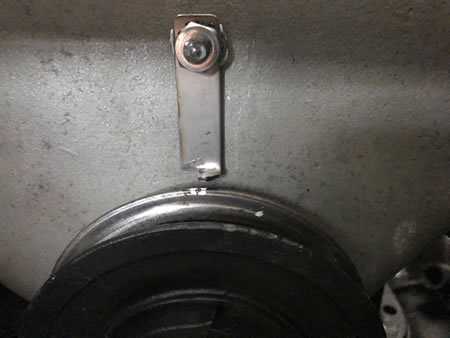
The photo to the left shows setting TDC on No: 1
Using the middle bolt in the timing cover to hold a pointer and an engraved mark on the crank pulley, I can check TDC on #1 easily. |
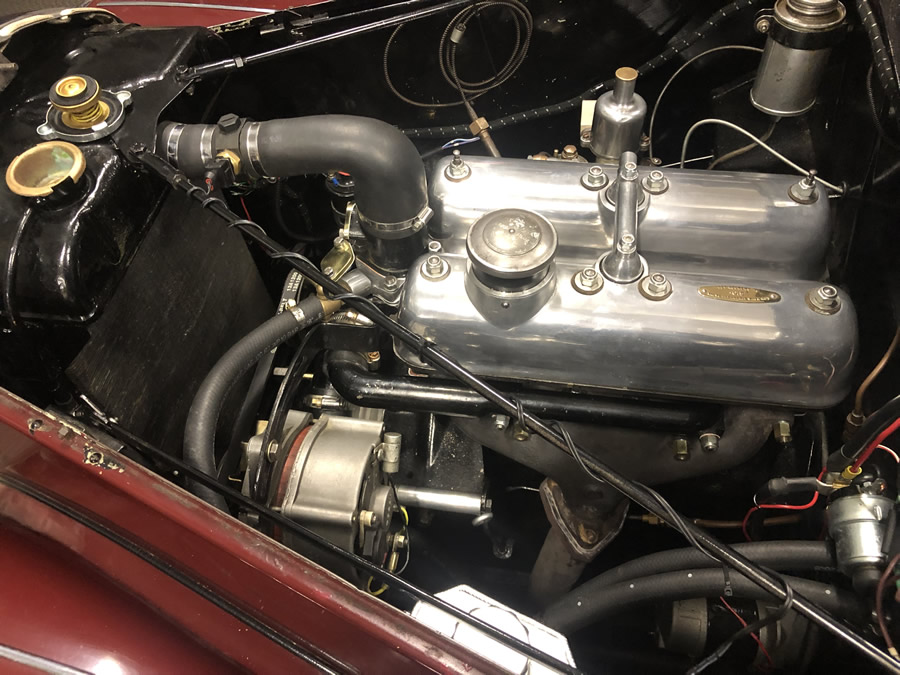
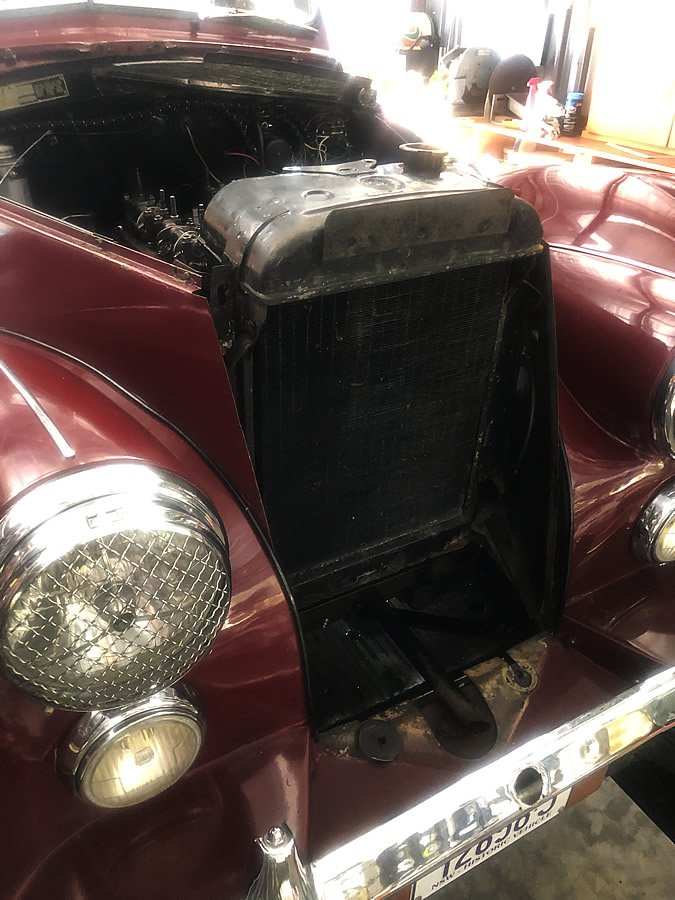
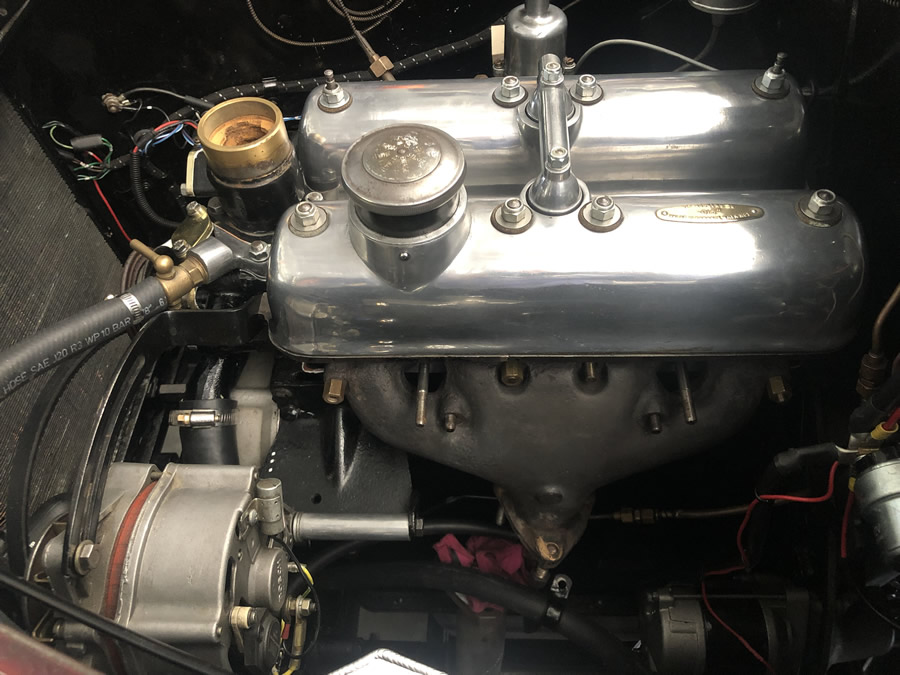
Things are going back together, with the radiator reconditioned; the thermofan moved to the front of the radiator; electric waterpump fitting behind the raditor and in a better position. Note the rag stuffed in the end of the exhaust pipe - without that, something is bound to fall down the pipe! |
 |
 |
 |
