Her new life from 1 Dec 2019 - with Rick & Joan Fletcher UPDATED: 13th November 2021 |
|
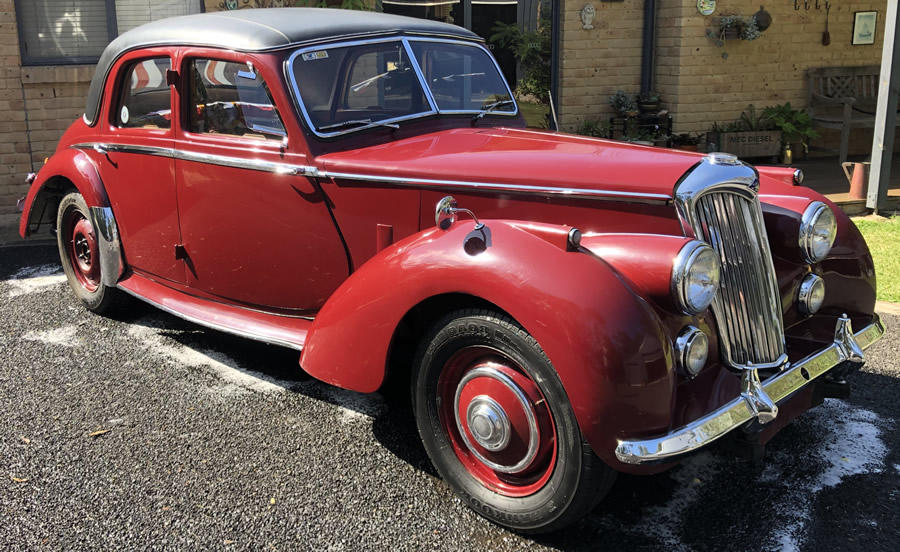
Here is "Ruby" - a 1953 1 1/2 Litre RME Riley in the hands of a new custodian: PPlease note that I am not a Riley expert at all - I just have the workshop manual in one hand and a spanner in the other. I am not doing a full restoration of "Ruby" but just trying to keep her pretty much as she was when I bought her - with some of the "tired" bits replaced or rebuilt. I listen to advice and seek out info and photos from all around the world on the internet. The Riley Clubs have been a great help and Paul from the Sydney club is a constant source of help and advice. The following pages of photos were taken to help me (and perhaps others) in the enjoyable task of getting her registered and usable.
Rick Fletcher - Far S Coast NSW... 0417 416 516 |

These photos were provided by the previous owner - Bill Skully, Adelaide SA |
|
 |
 |
 |
 |
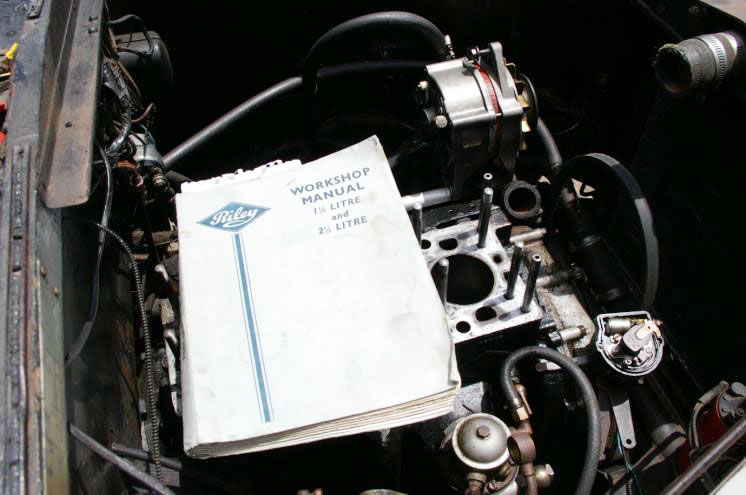
The head had been removed before purchase ...  |
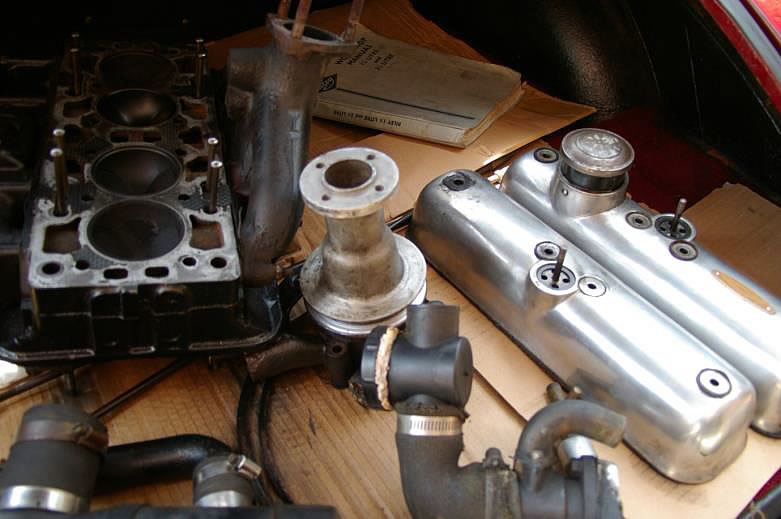
...and all the missing bits were in the boot.  |
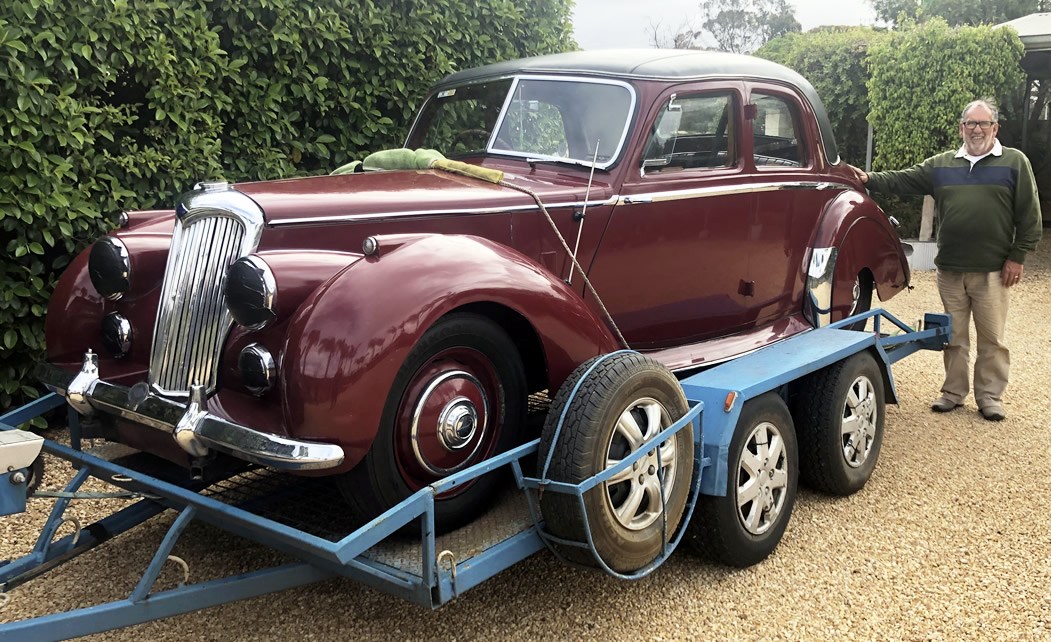
1953 RILEY 1 ½ litre Model RME in a previous life as a wedding car ("LEDA").

As purchased from Bill & Julie Skully (SA) - with my mate Bob who kindly provided the tow car for a 2,800 km return trip.
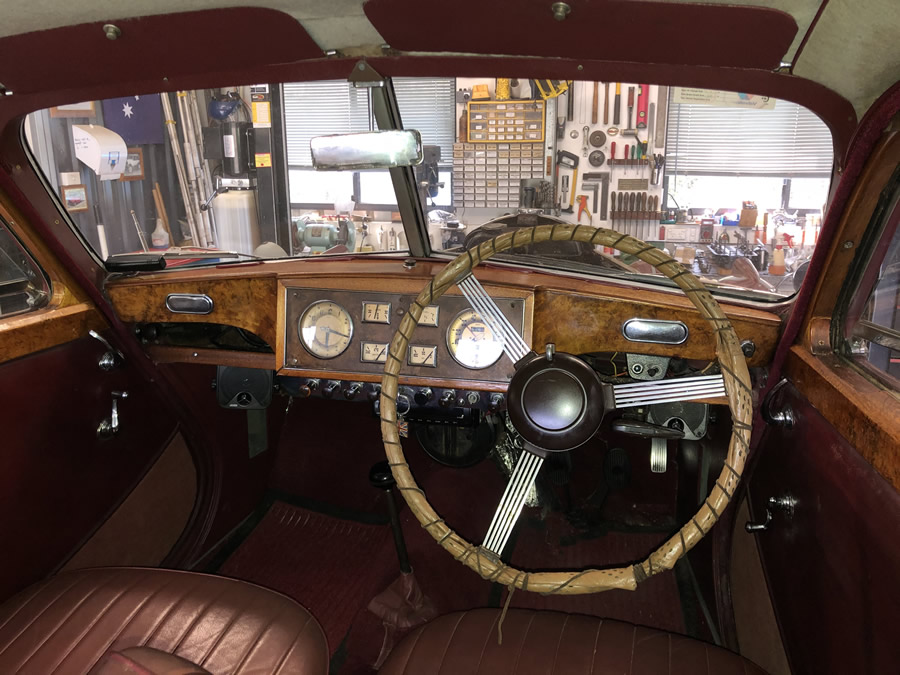
Back home in the workshop. The steering wheel - which now has a restored rim.

Clearly there is a need for new rear engine/gearbox mounting rubbers and they have arrived from the very efficient spare parts man
Paul Baee in the Riley Motor Club of Australia (NSW). Paul has been very helpful and the club has an extensive range of spare parts.
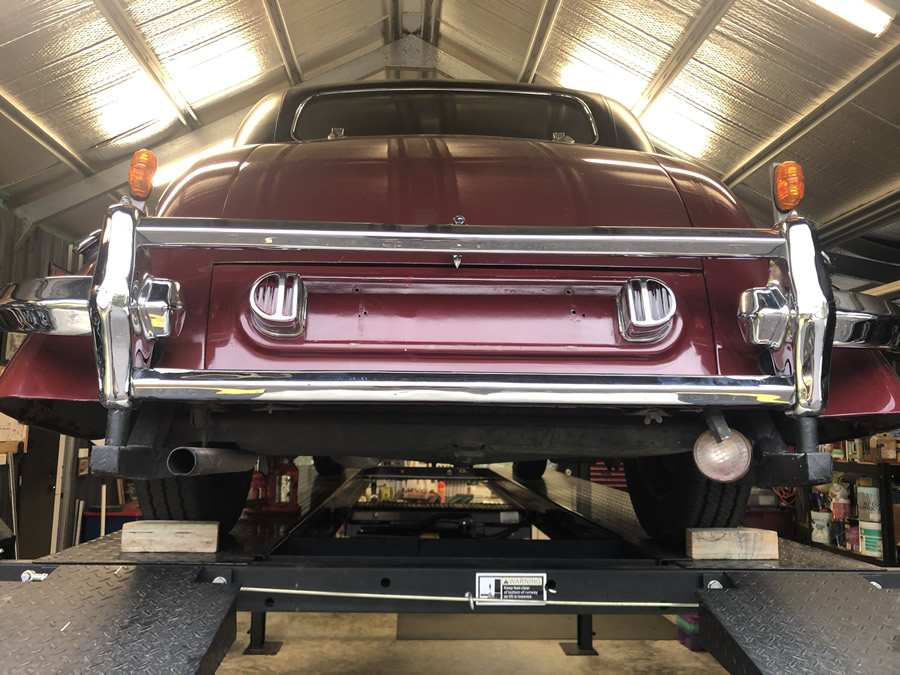
One of the obvious first steps was to replace the gearbox mounts..... 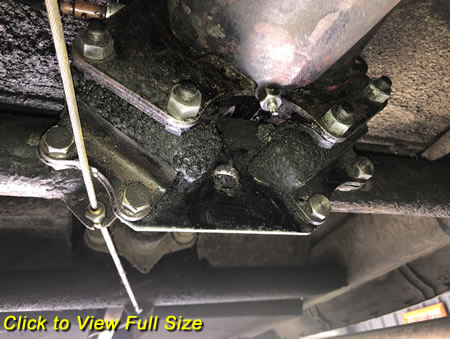 |
...and to make a start on removing some of the crud build-up on the chassis. 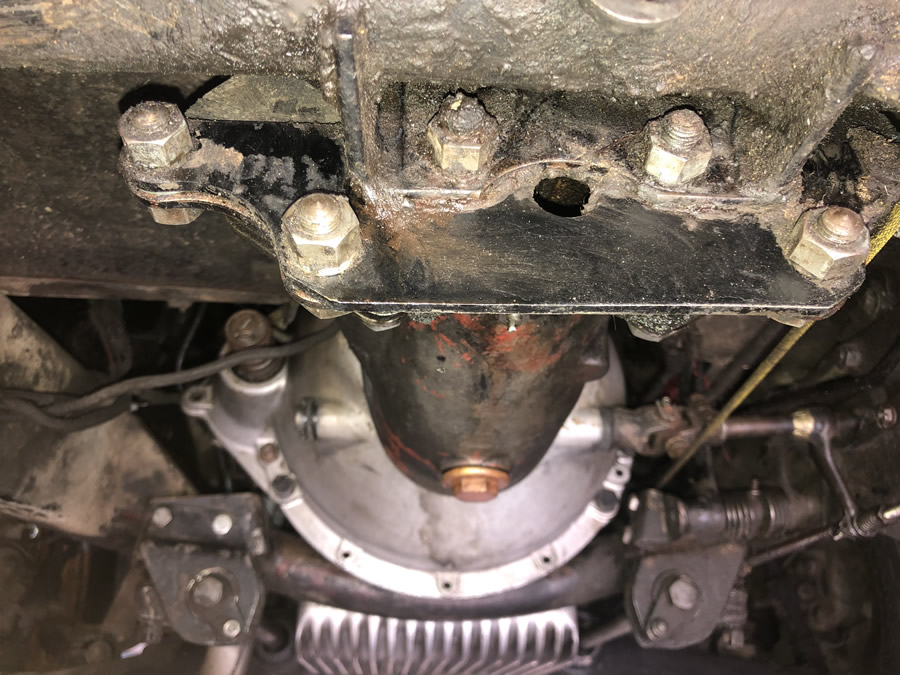 |
 |
 |
Front suspension undergoing replacement of bushes and wearing parts. This photo shows the Mk1 puller for extracting the splined sleeve in the torsion bar tube. The Mk3 version went from 8mm to 20 mm H/T threaded rod. Continues on Page 2. 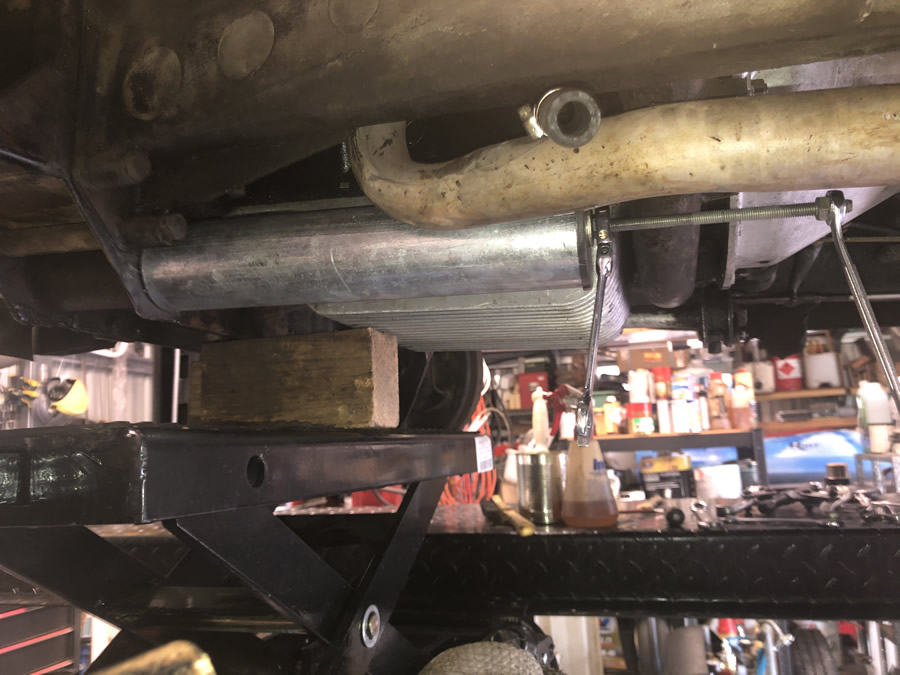 |
The head had been removed before I purchased the car and all the parts were stored in the boot as shown above. 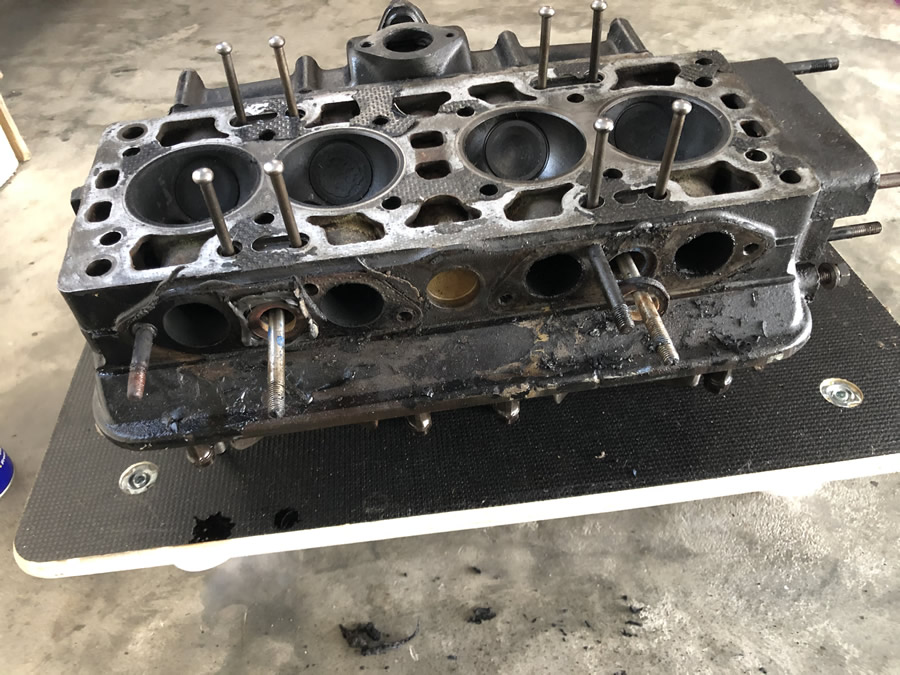 |
Dismantling commences 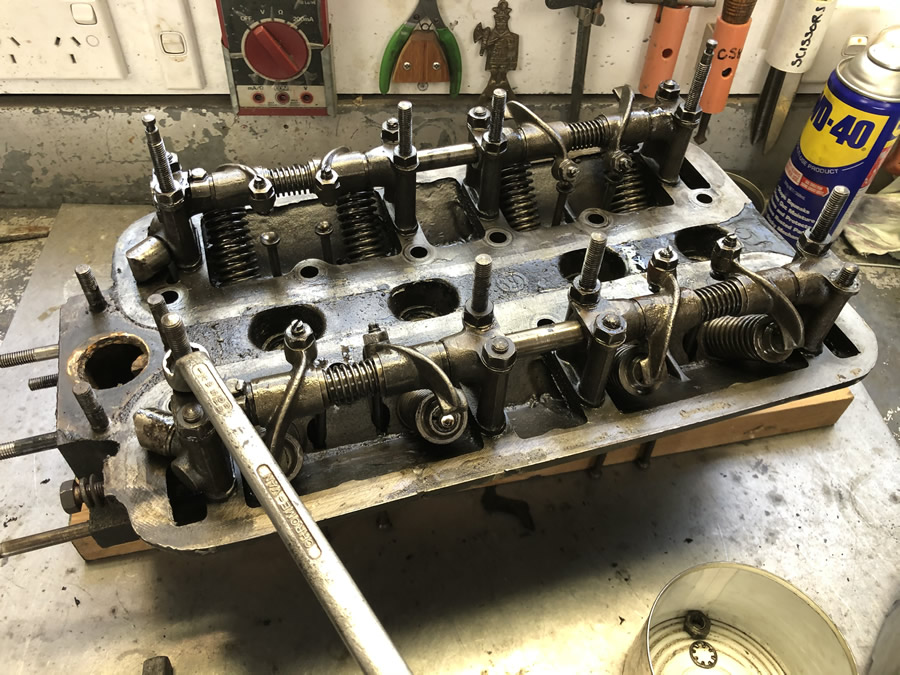 |
Inlet and exhaust ports cleaned up and polished  |
Valves and seats were in good condition and valves were refaced in the lathe. 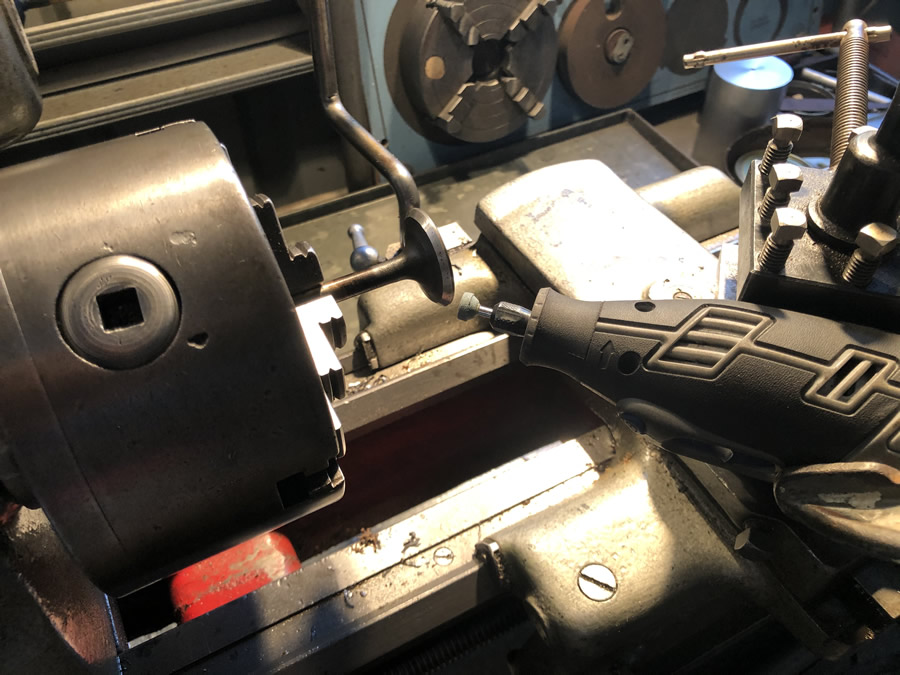 |
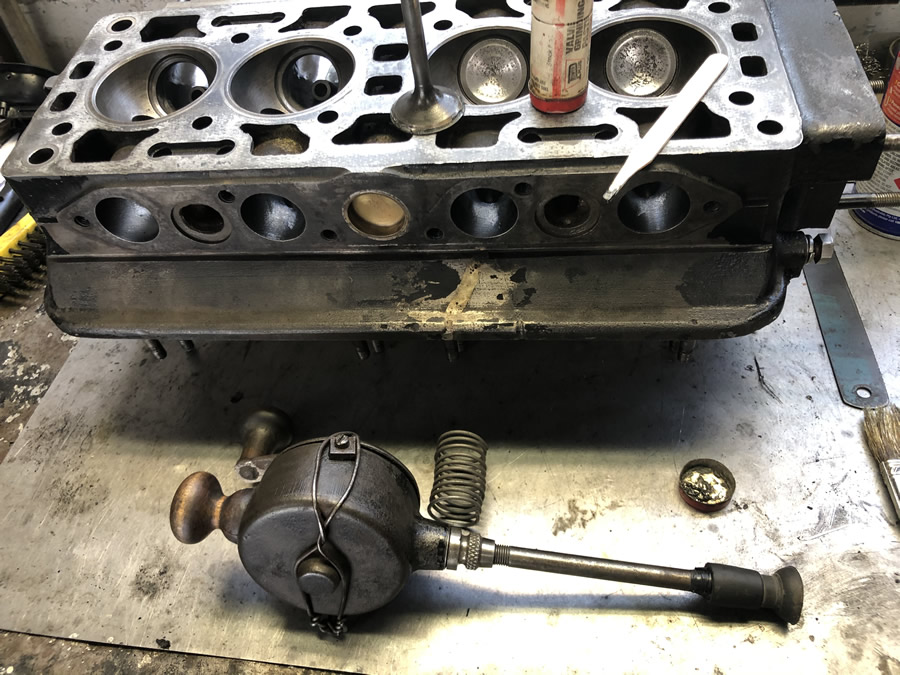
Combustion chamber cleaned up and valves were lapped in using the old fashioned way. Note the brazed repair done on the head some time ago - remains to be seen how it holds up. |
Valves were lapped as shown here using a rare vintage reciprocating lapping tool (above right) and some fine paste.  |
The head is ready to go back on the block when Ruby is back on her wheels 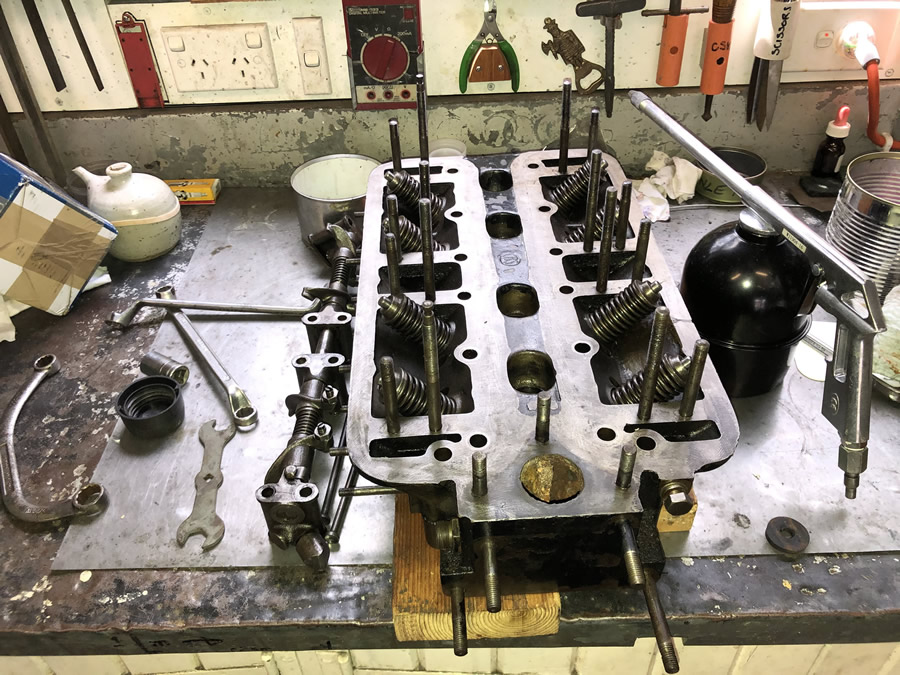 |
N/S front suspension bits and the original jack cleaned up and painted.  |
First real sign of "bits" going back on. Here the top suspension links, pins ("spindles" as the manual calls them) bushes etc are on.  |