| Click the Pic to view Full Size |
|
|
|
|
|
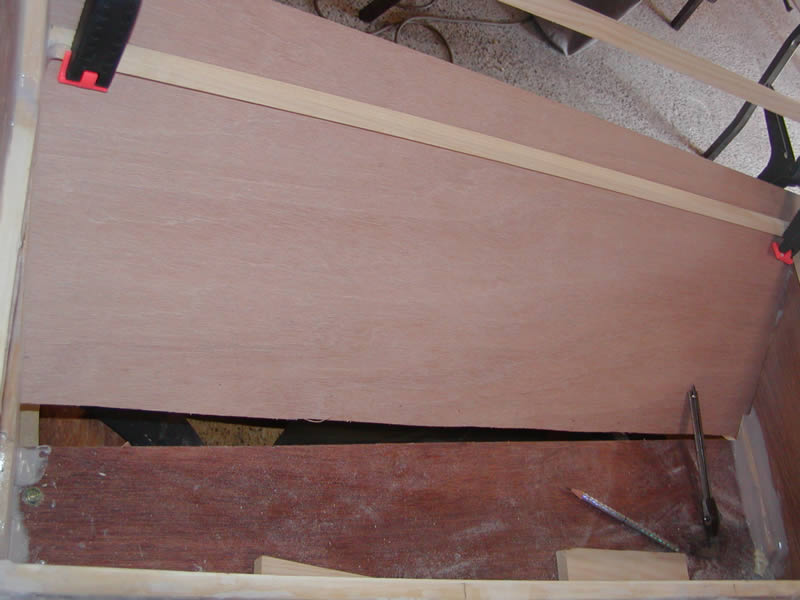
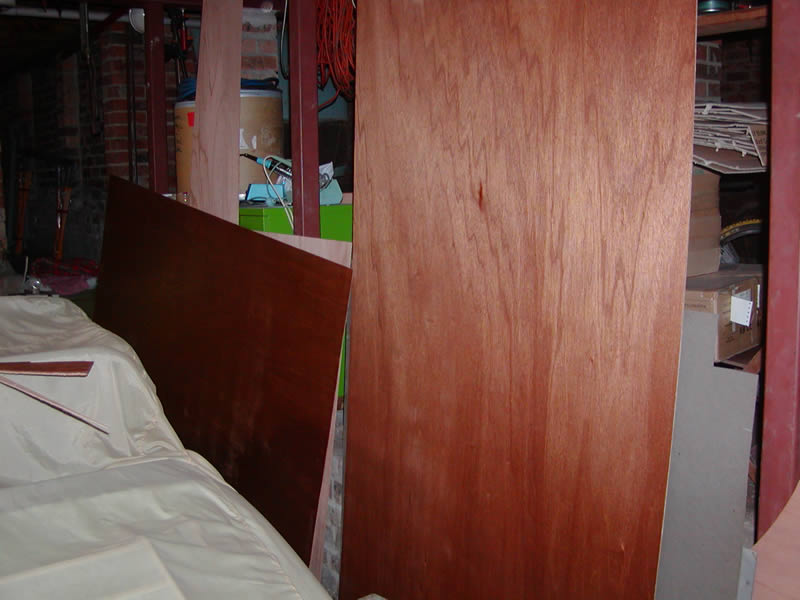
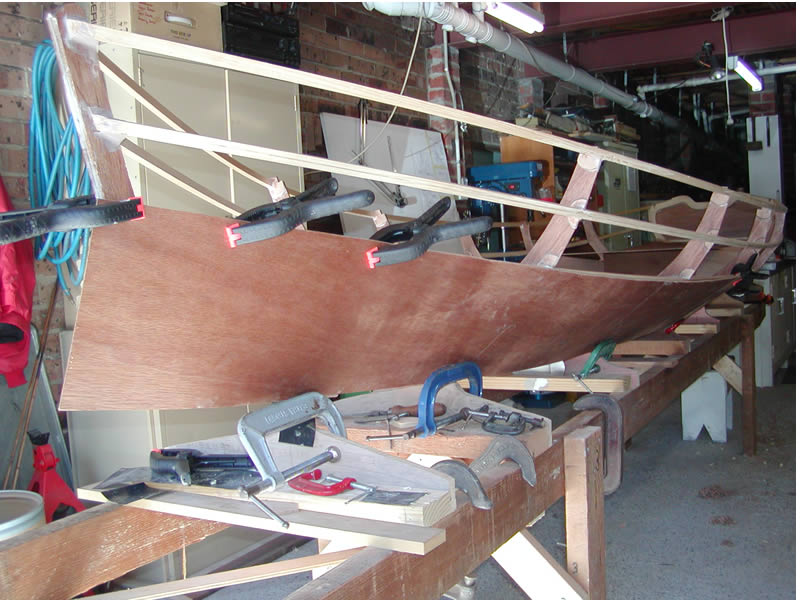
1. The first plank is measured for size.
Date: 29th Aug 06 |
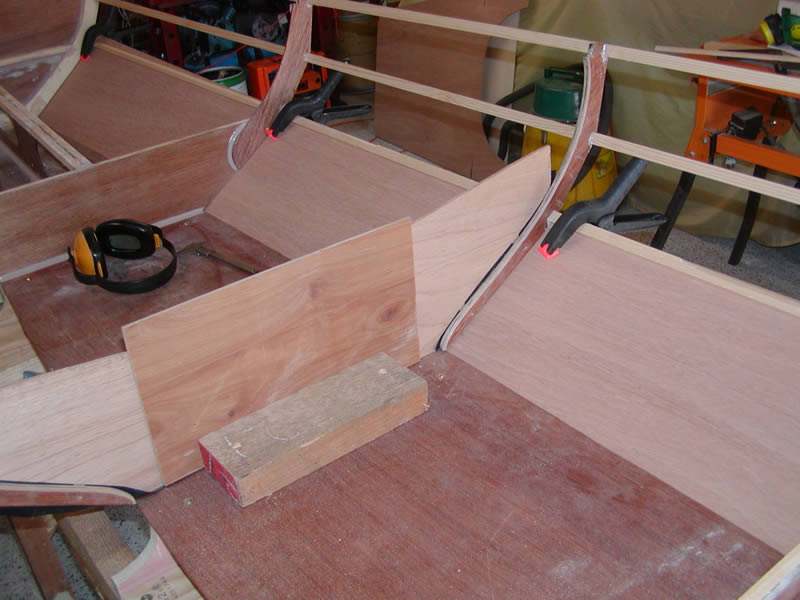
2. The gap at the bottom needed trimming to fit the bottom plank. |
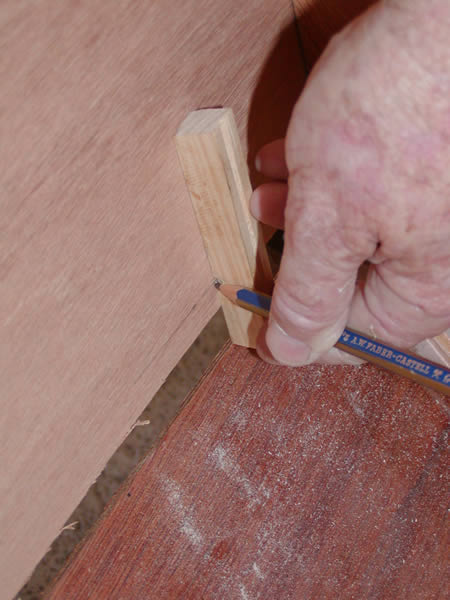
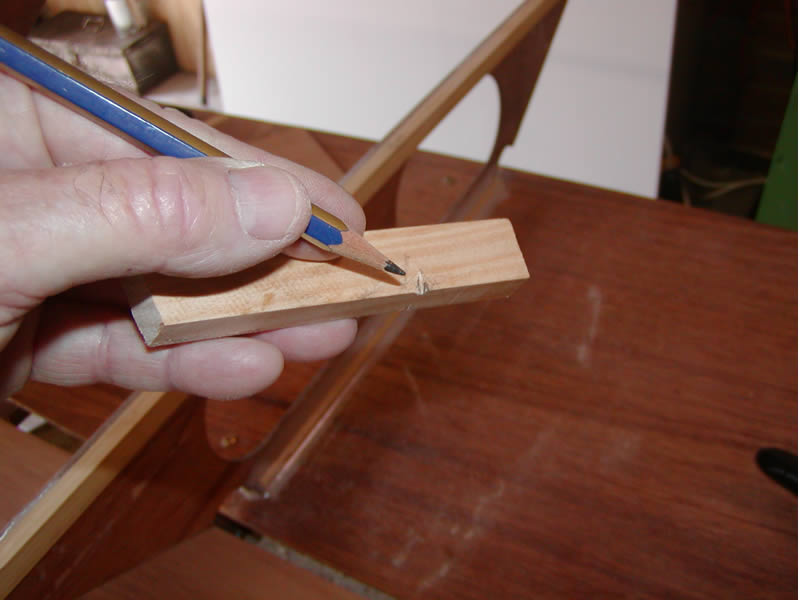
3/4. I made a block with a grooved edge set at the height of the greatest gap between the side & bottom plank. |
|
|
|
|
5. The bottom of the plank fits OK and the top can be marked out using the stringer. |
6. As mentioned before, I should have precoated the ply ... |
7. ... and that is now the way I do it!. |
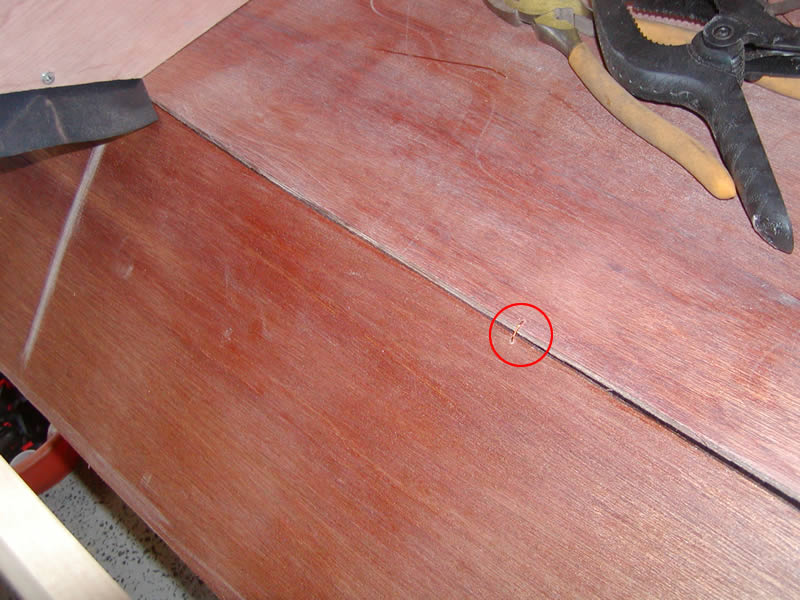
8. The deadrise plank was stitched to the bottom plank with copper wire ties and the gluing surfaces sanded. |
|
|
|
|
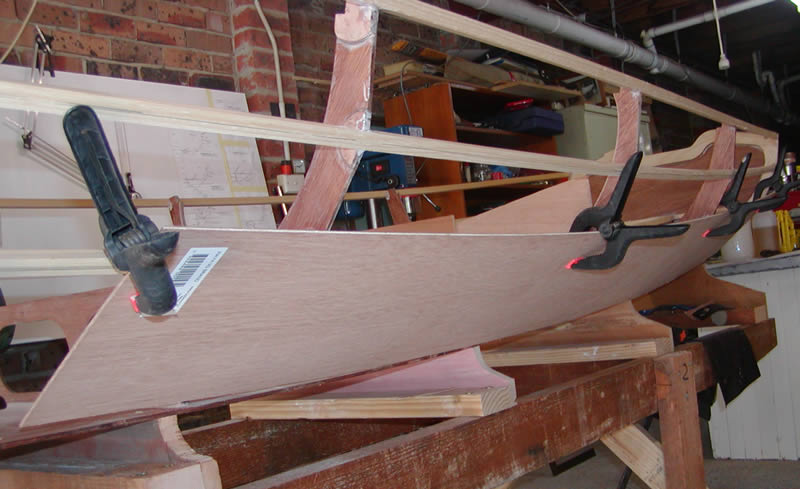
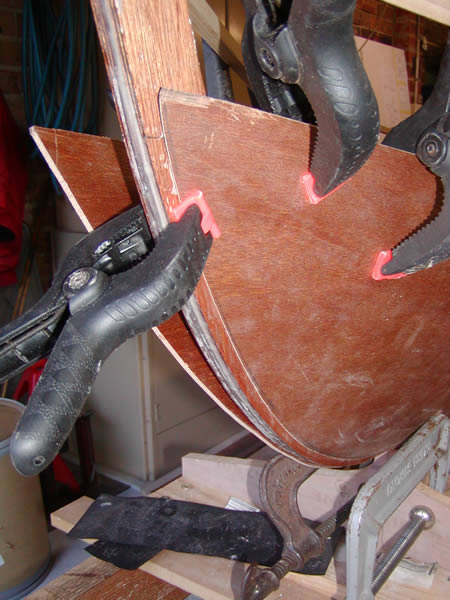
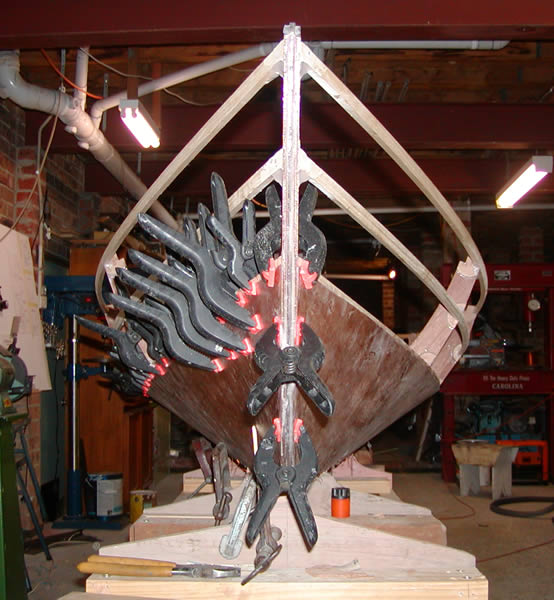
9. 38 clamps do their job. |
10. The port bow plank was offered up and held with G cramps and spring clamps. |
11. These G cramps were strategically placed to press the plank into position. |
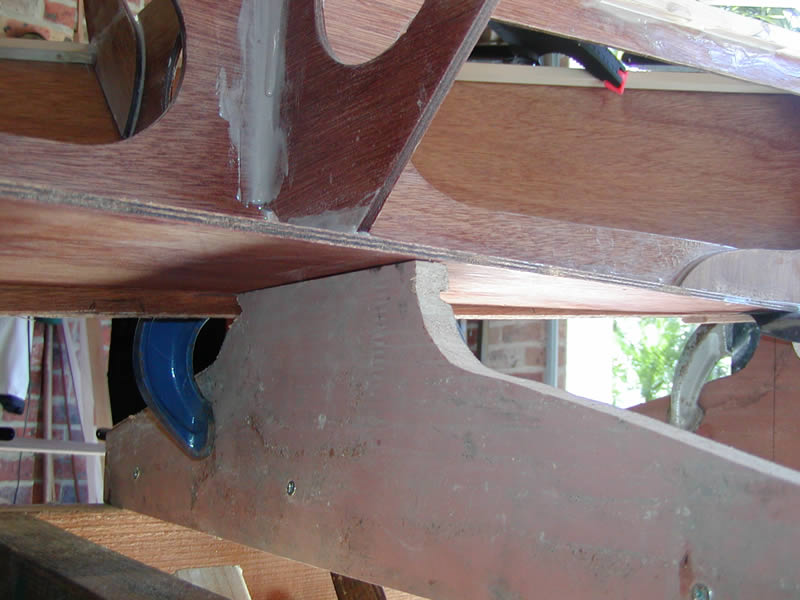
12. The cutaway in the jig risers allowed the straight plank edge to sit below the bottom plank. It could then be marked from underneath. |
|
|
|
|
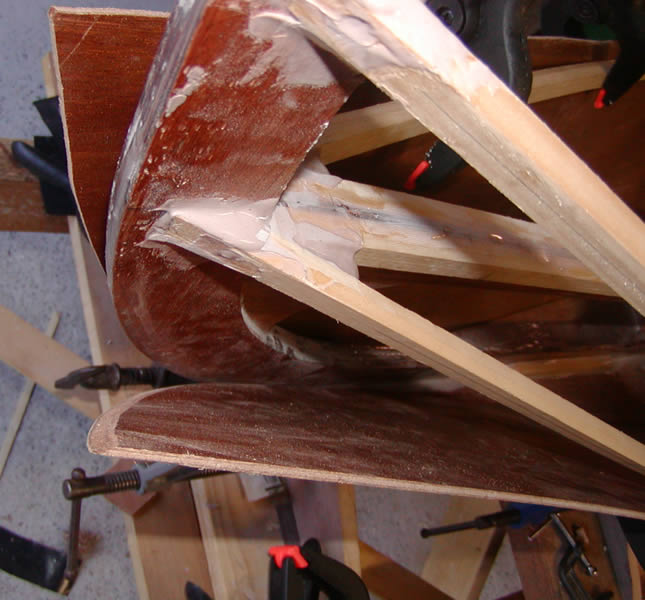
13/14. The st'bd bow plank was shaped from the port plank. The bow was traced from the stem but the aft end of the plank was left long. It is easier to fit the bow end then cut the aft end last. Note how the spring clamps help to force the sheet into a compund curve. |
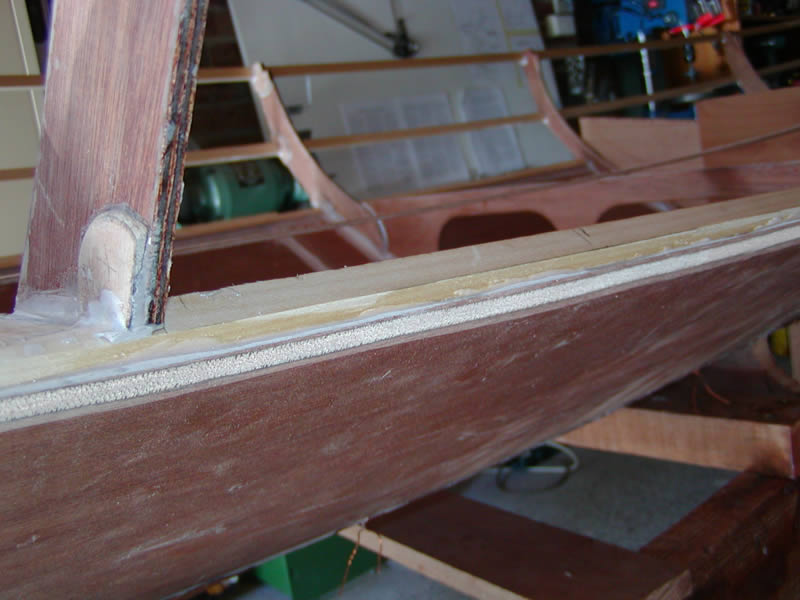
15. I planed the leading edge of this plank to match the stem but slid it back about 10 mm so that I can later fair the edge of the stem.
|
16. This shows the splayed edge of the plank - right to the surface veneer. The plank is still over-height. |
|
|
|
|
17. I have now cut the plank so that it is half-way up the stringer. My little block plane is used for all of this fairing. |
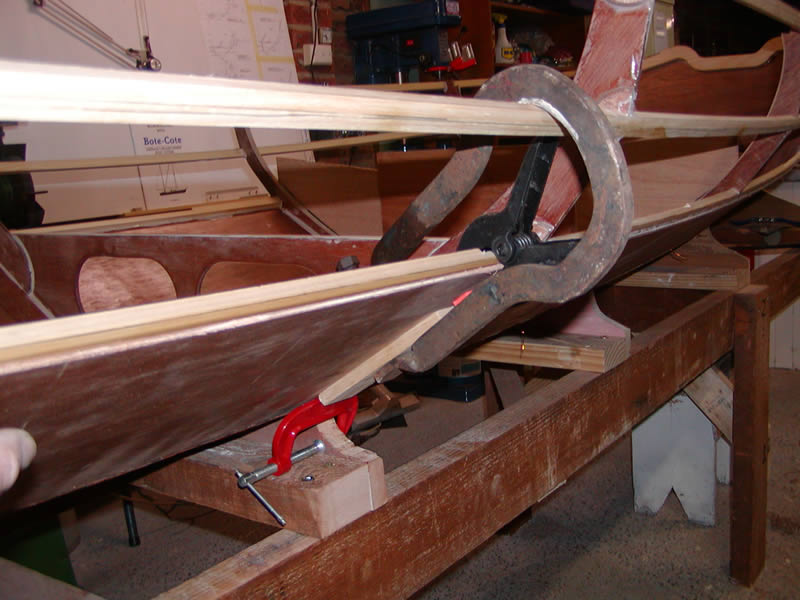
18/19. My dad made this long clamp when he was building his boat in the late '40s and it was just right for fitting the tingles. A spring clamp with pads could do the same job. It's best to use some plastic under the pads so that they don't bond to the pad, |
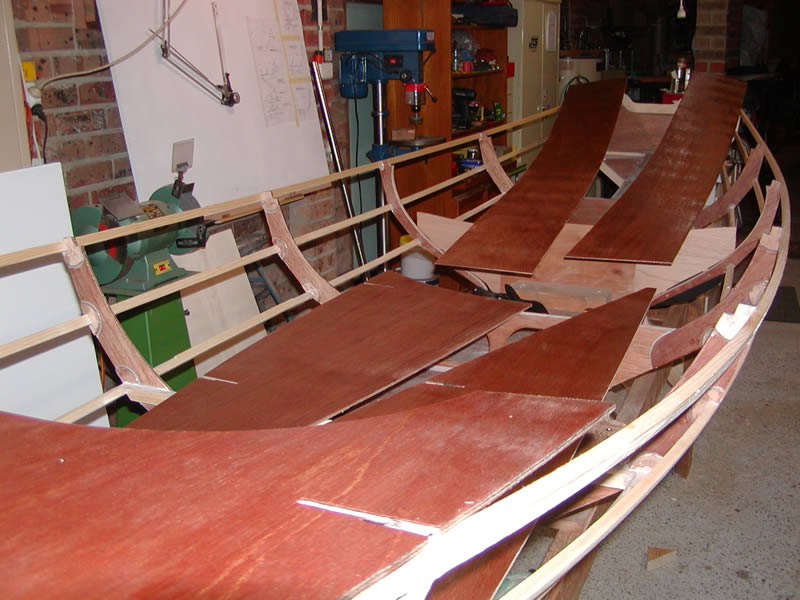
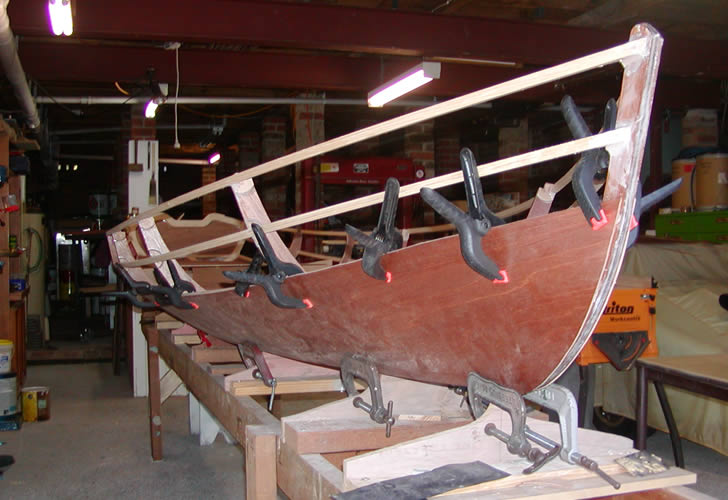
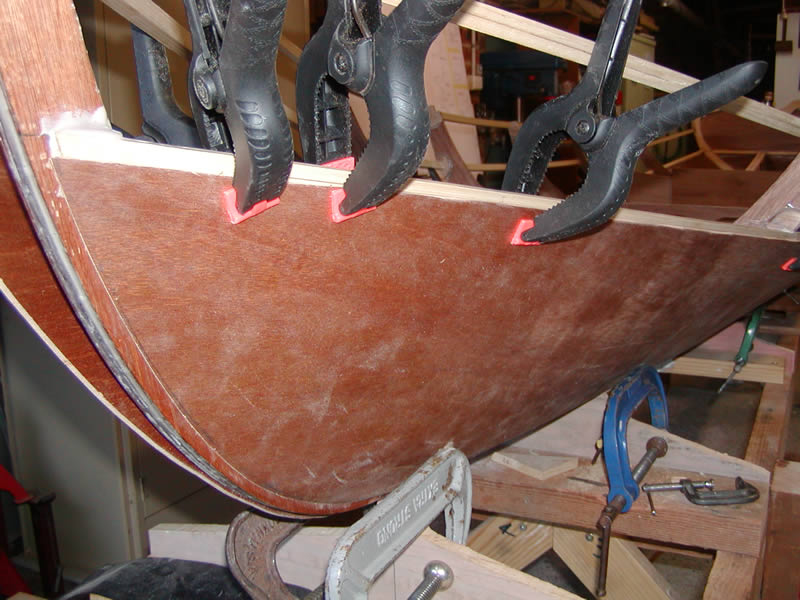
20. She is planked up to the chine now as the st'bd plank is epoxied in place. I only used clamps - no screws (except for the stem). |
|
|
|
|
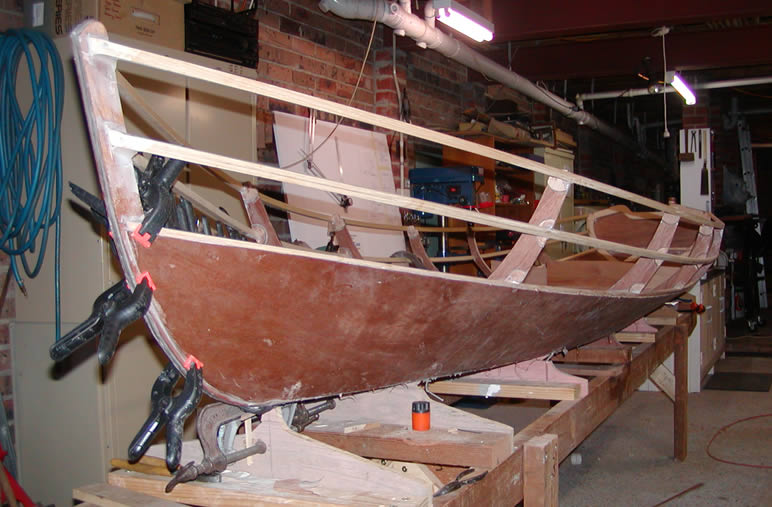
21. You can see how the large clamps lean off the middle stringer and help to form the compound curve in the plank. |
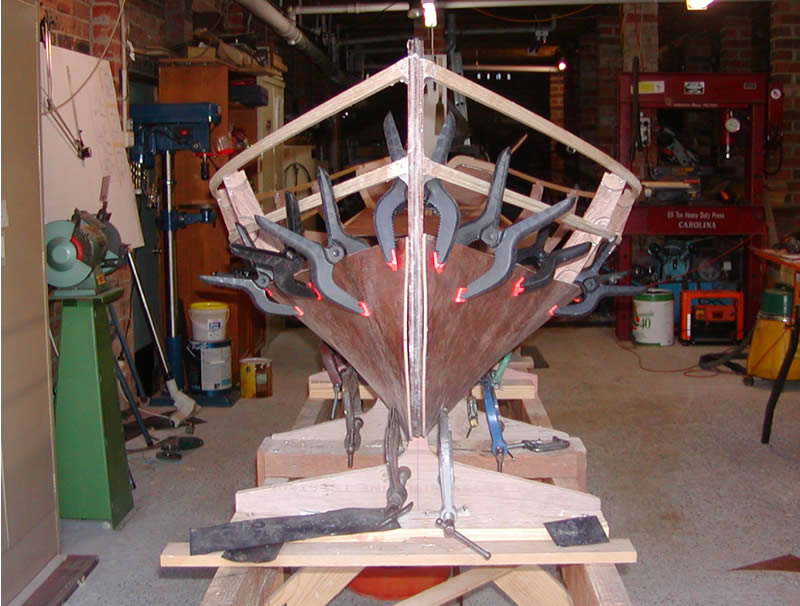
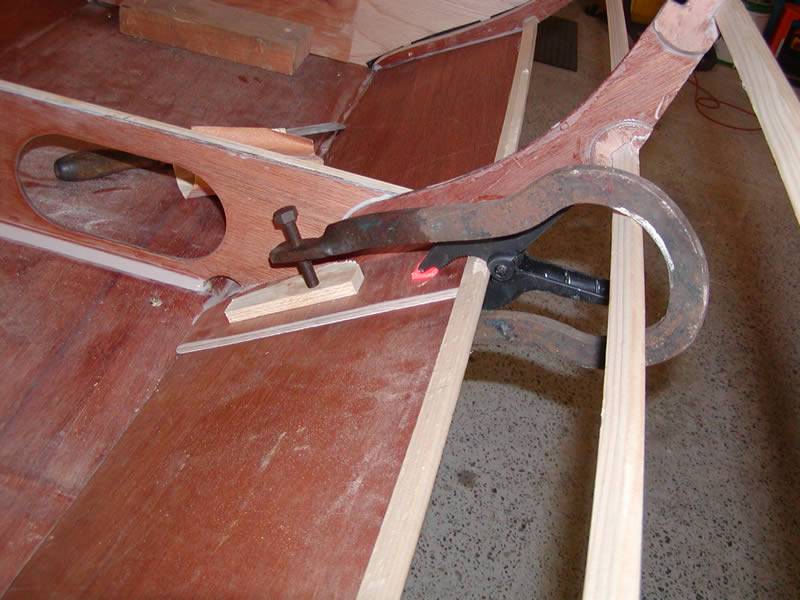
22/23. The compound curve is more obvious here. I don't need spacers between the lower part of frame 1 and the bow plank. If I wasa doing it again, I would put a very slight curve in the angled edge of frame 1.
|
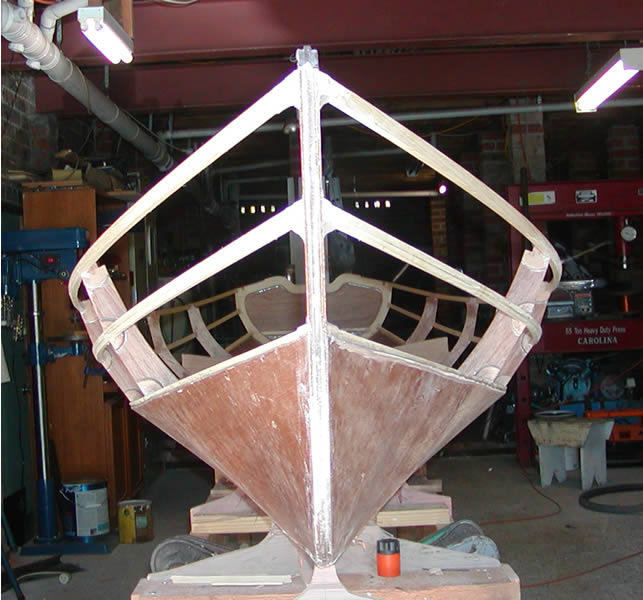
24. I have faired the lower stringer ready to accept the next plank up.
Date: 6th Sep |
| |
NOTE: by my later calculation, the lower edge of frame 1 needs to be curved from the chine to the join with the next plank such that there a 15 to 20mm deep concave curve. See below. This is only necessary if you force a compound curve.
 |
|