| Click the Pic to view Full Size |
|
|
|
|
|
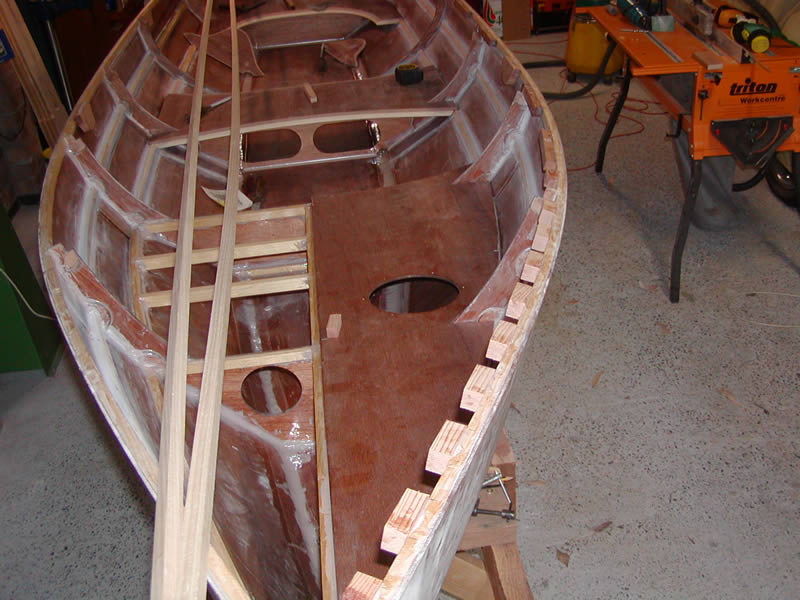
1. I decided to add an extra drain hole at the aft end of the bow seat spine.
|
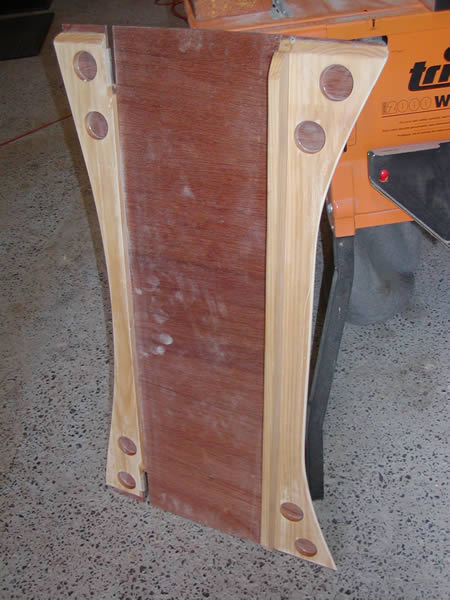
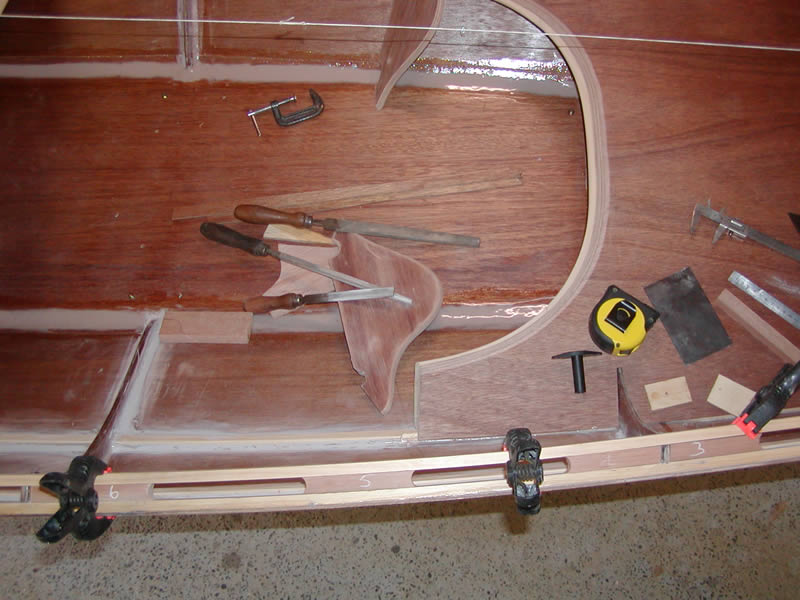
2/3. I originally set the footrests out as per the plans. When I sat in the boat & put my feet in the calculated position it felt uncomfortable so I added a "bulbous bit" (technical term!) to the inboard edge. The hollow section at the top is designed to cradle the handle of the oars when stowed inside the boat. Will it work? |
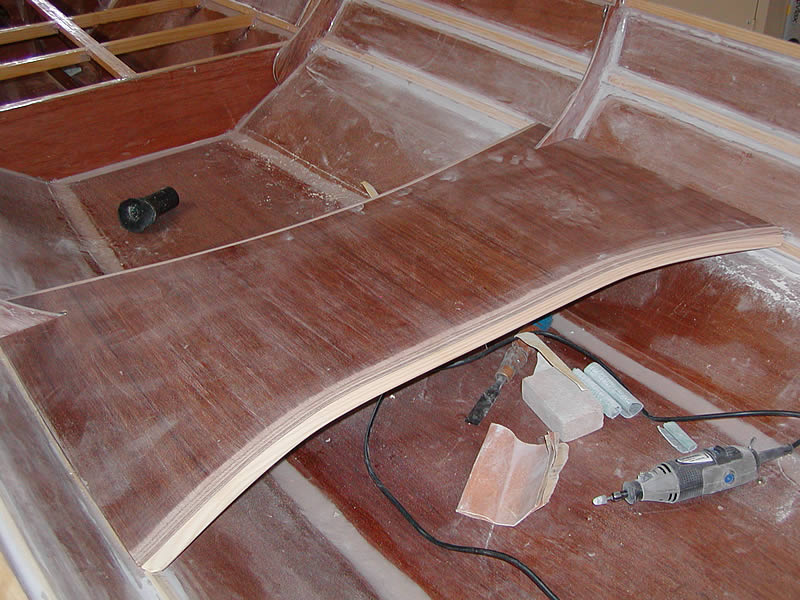
4. The rowing seat has been assembled with the stiffeners in place ...
17th Oct 06 |
|
|
|
|
5. ... and when it is done like this, it can be dropped in & out as a unit. It also helps to be able to profile the edge on a bench. I used a "flap sander" in an angle grinder plus a rotary flap sander to do the edge (see page 8). |
6. Even though I was careful. the frames were slightly out of position at the gun'l, port & stbd. The only way I could accurately locate the rowlock centres was to strike a right angle from a middle string line. |
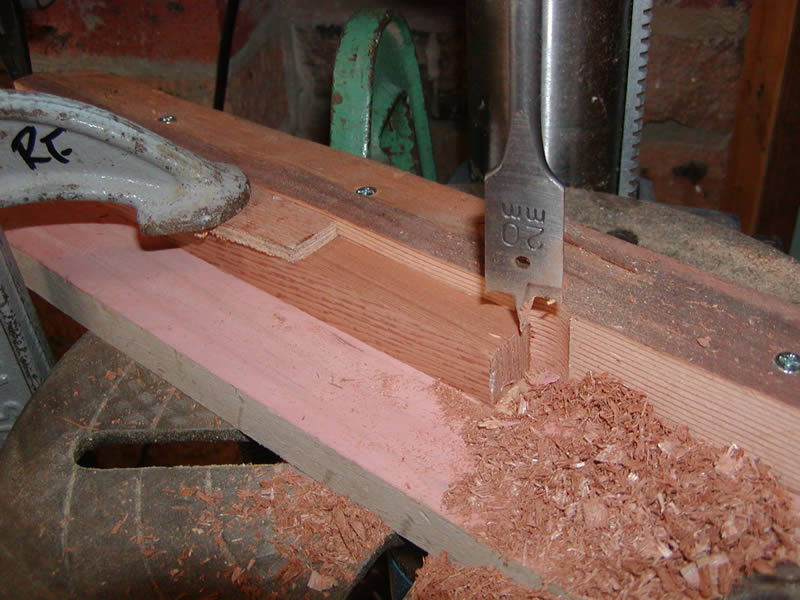
7. The rowlock receiver was made from pacific maple which was a little harder than the western red cedar (WRC) used for the other spacers. |
8. I spent a lot of time trying to work out how to fit the spacers as my original idea was to use maple which proved too rigid to conform to the curve. |
|
|
|
|
9.Unless I actually curved the spacers (a pain of a job) I needed to select a better timber which had enough "give" to bend around the gun'l shape. |
10. The WRC was fine for this but there is a problem - the dust is "CARCINOGENIC" so be careful. I have full helmet respirator which I used for this job.
|
11/12. To form the curves in the end of the spacers I made a simple jig to cramp to the bench drill. After a bit of fiddling to find the centre, I was able to carefully use a speed bore bit to shape the ends. The job must be firmly clamped.
Use a softwood bit which has two edge spurs to cut the wood.
|
|
|
|
|
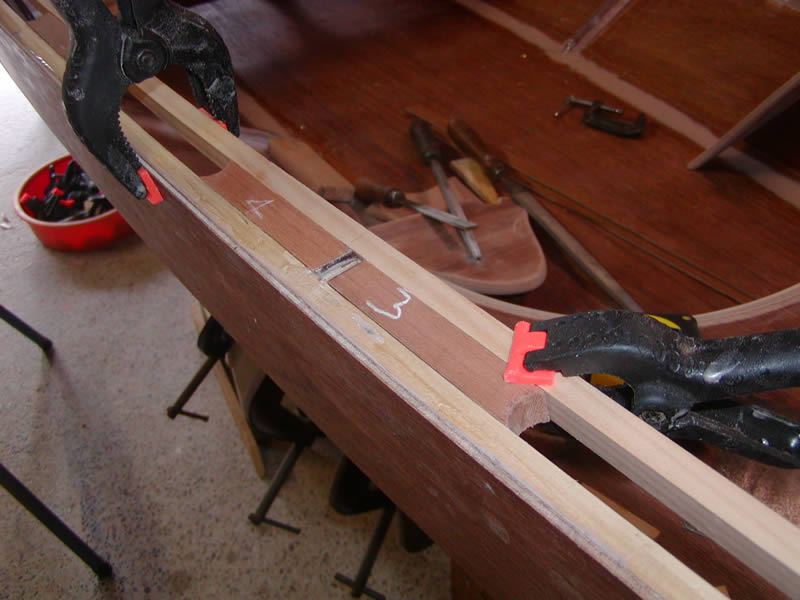
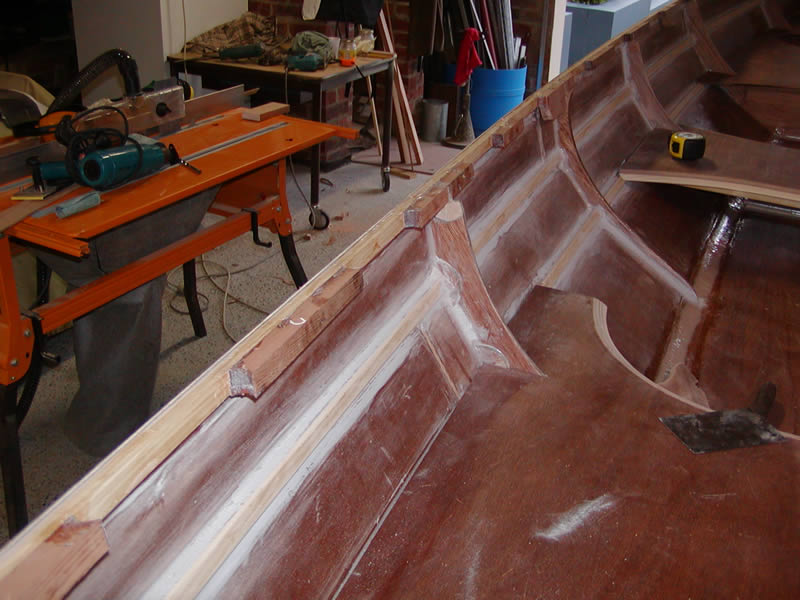
13. I glued the spacers to the gun'l stringer with the inwhale to go on later. |
14. From just aft of the first frame I have used plain spacer blocks as I plan to build a foredeck over this section.
|
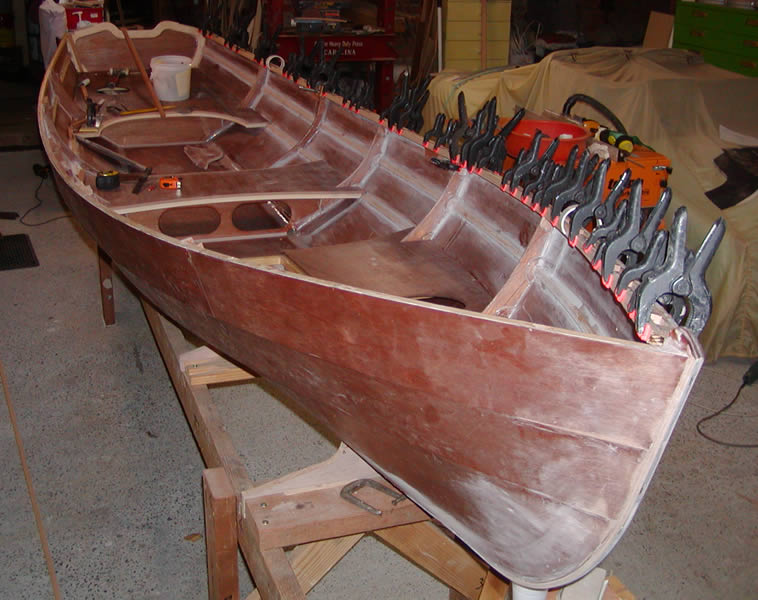
15. This shows the plain spacers and the cut needed in the inwhale so that they will meet neatly on the centre line. 21st Oct 06 |
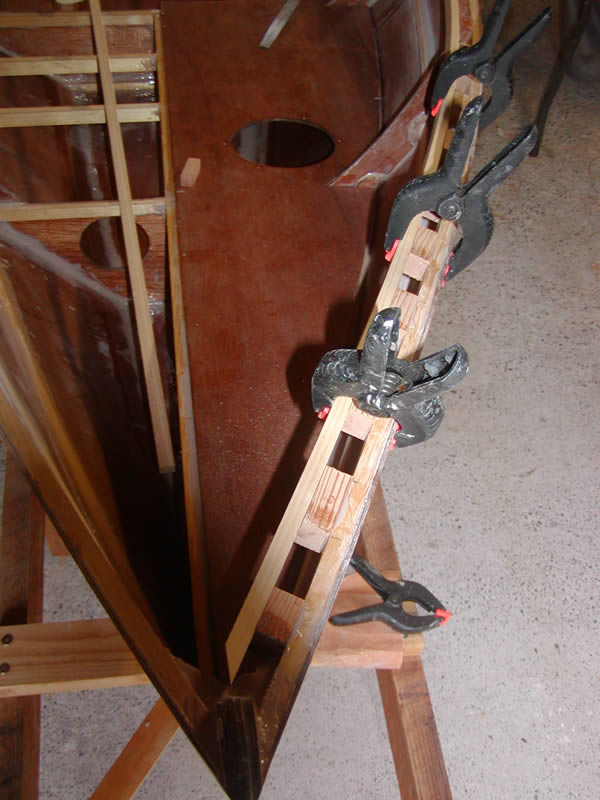
16. The inwhale is epoxied in place (41 clamps later). |
|
|
|
|
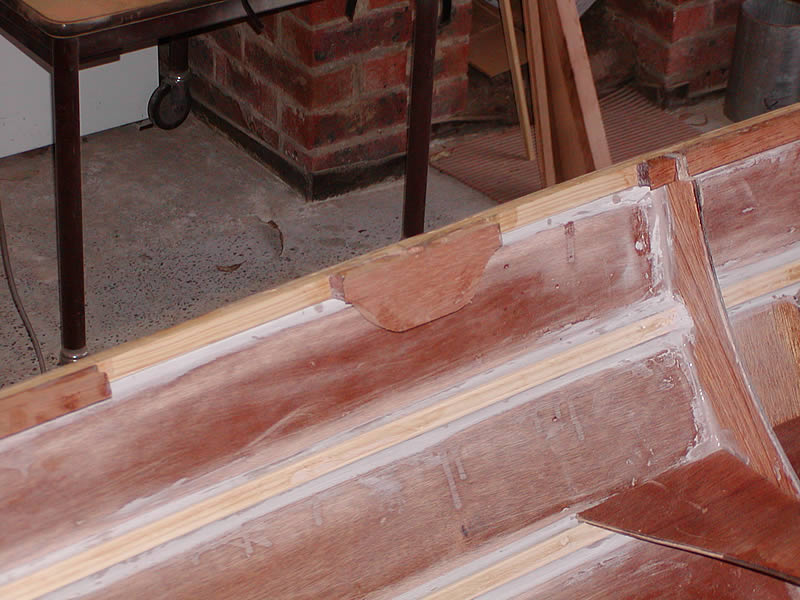
17. I don't know why I do these things - an ordinary rectangular plate would have done. |
18. I fabricated a piece of hoop pine to trim the join between the seat and the transom - it seems to "frame" it a little better.
|
19. I planned to use a knee to help take the thrust loads form the little outboard (probably not necessary). Two plates were fitted to build up the transom thickjness. |
20. This is how I bevelled the bottom edge of the pieces in 19.
I transferred the angle of seat to transom using a sliding bevel. |
|
|
|
|
21. The knee was laminated from 2 layers of 6mm ply and a piece of 12mm hoop pine with the grain at about 45° |
22. The first shaping of the side pieces didn't look right so ...
|
23. ... I gave them a little more angle which seems to look better (?) |
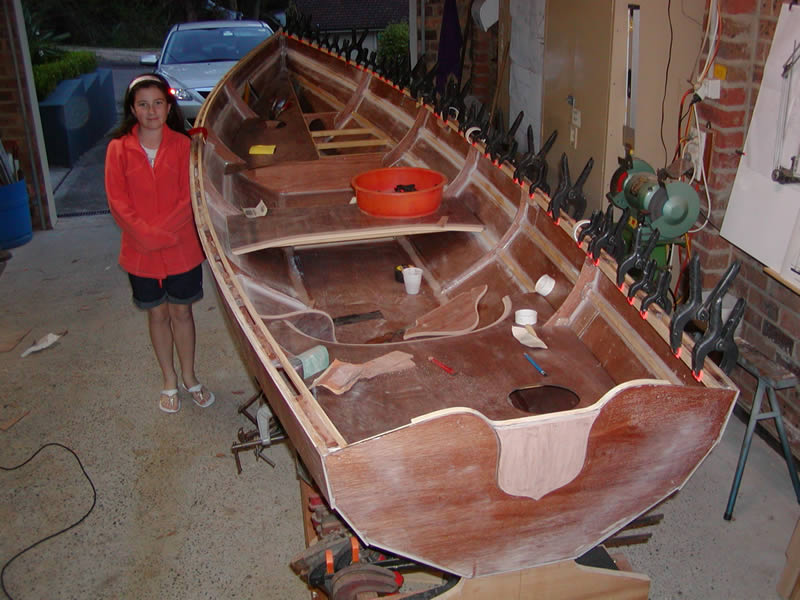
24. Another helper on the job - my niece Jessie. The last inwhale is epoxied in place.
|