| Click the Pic to view Full Size |
|
|
|
|
|
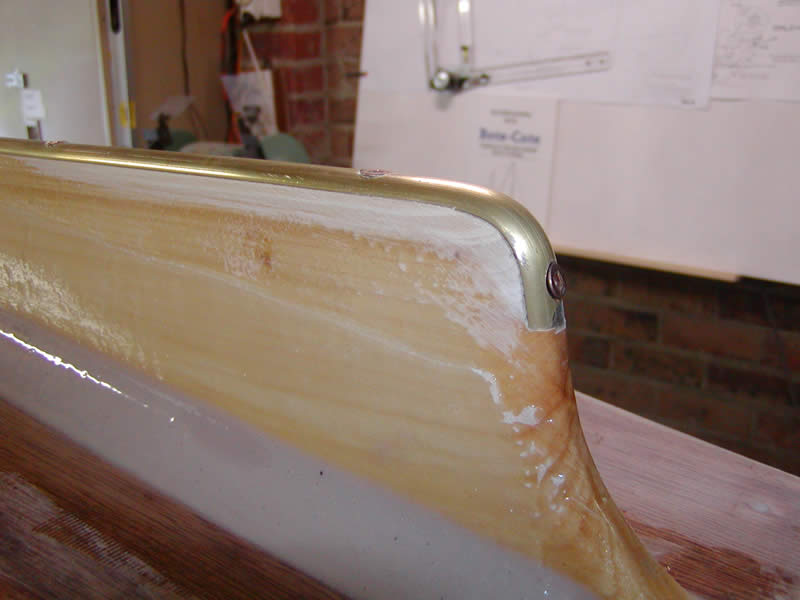
1. The brass was annealed and formed around the aft edge of the keel ...
30th Nov 06
|
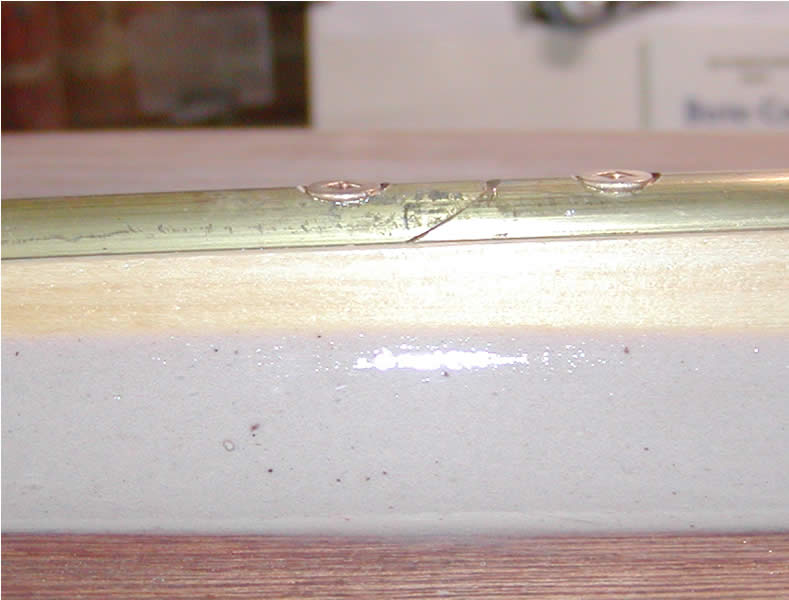
2. ... and scarfed where it had to be joined.
|
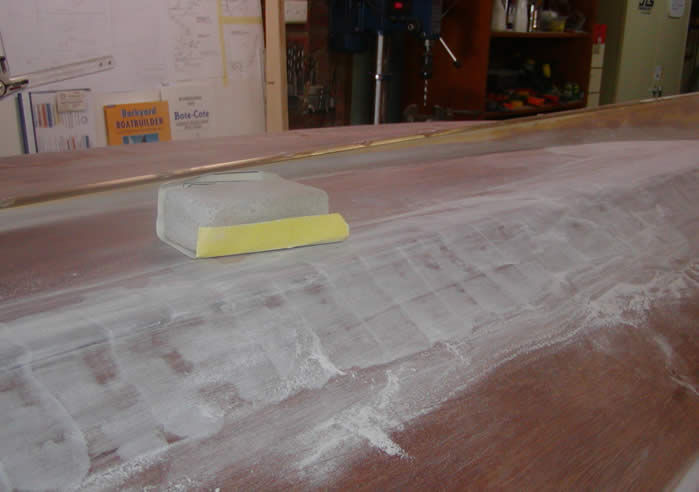
3. Sanding filler added to the turn of the bilge . |
4. More sanding (the worst part of the job). |
|
|
|
|
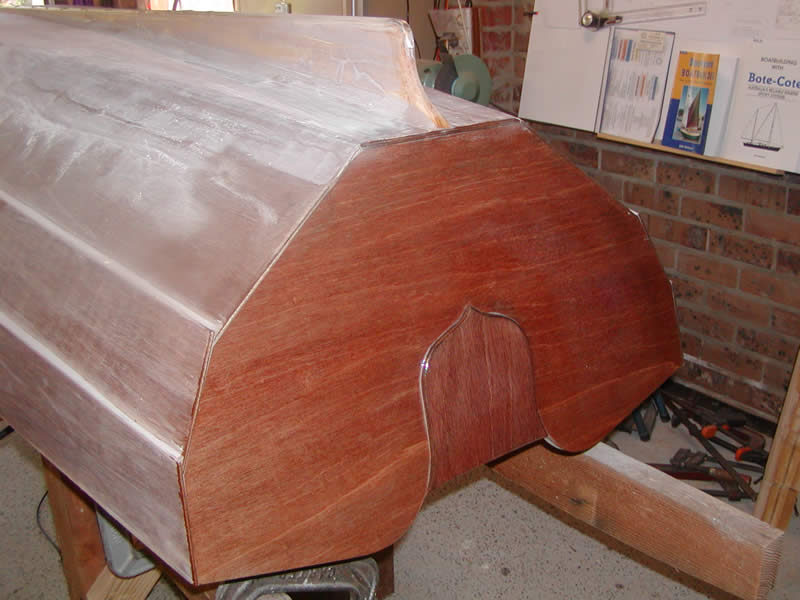
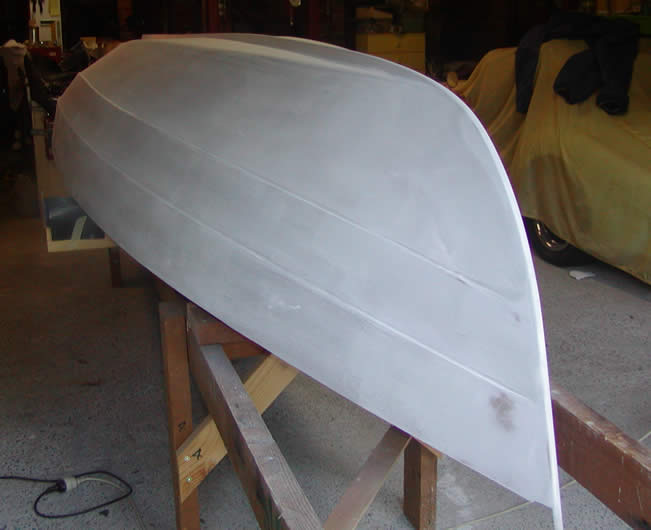
5. First coat of undercoat - Bote Coate "Aquacote", a 2 part water based epoxy mix. |
6. A second coat of undercoat ...
|
7. ... followed by lots more sanding. I wasn't pleased with the finish when sprayed. The stuff sets "like concrete".
|
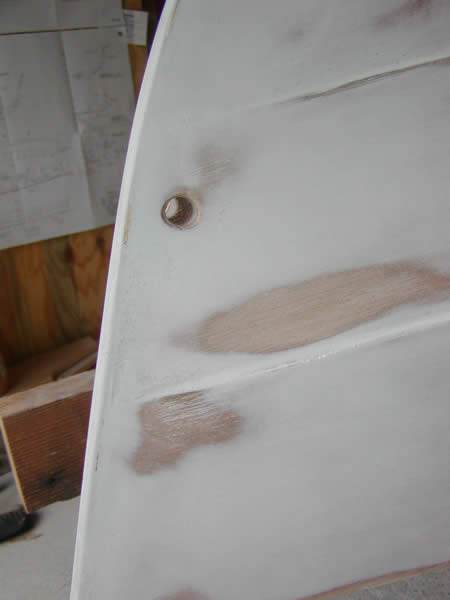
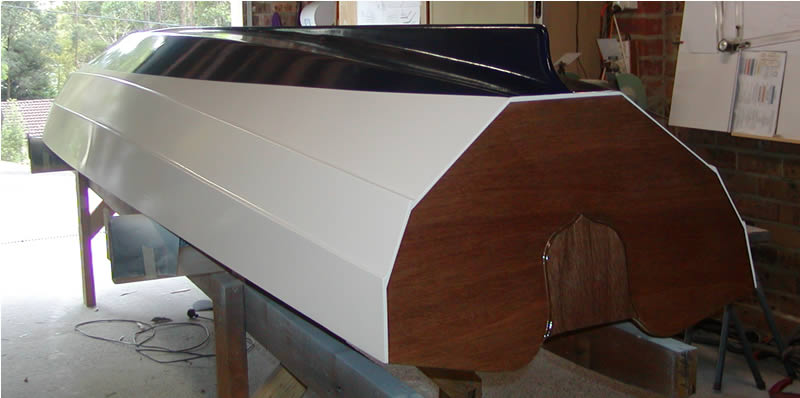
8. I had reinforced the stem in this area by pouring epoxy into it. This will allow me to fit a "D" to pull the boat onto my truck. |
|
|
|
|
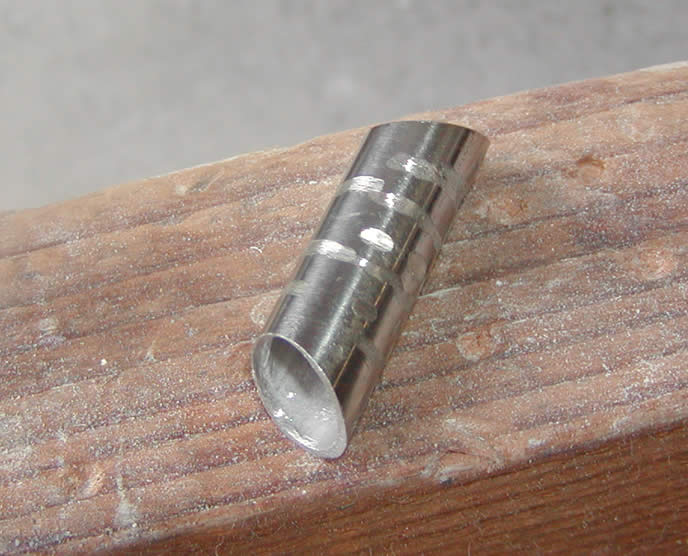
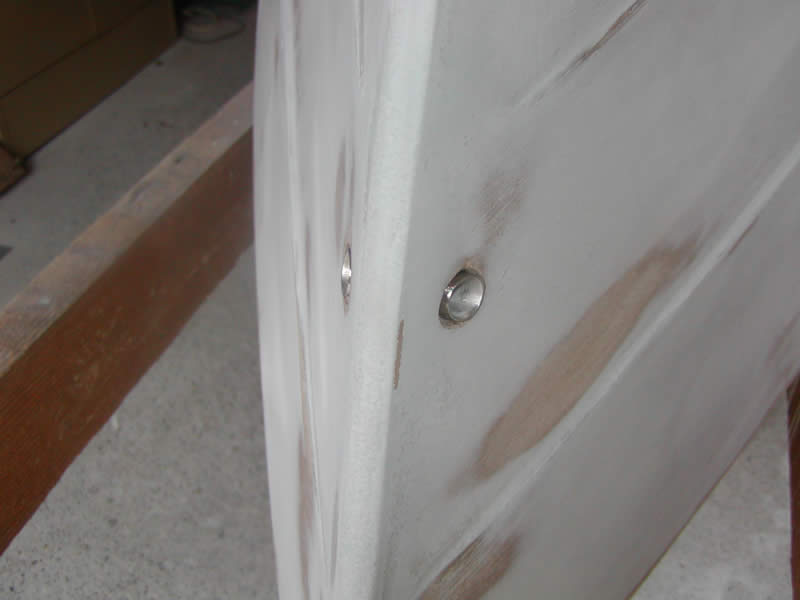
9. The stem hole was reinforced with a small tube of 1/2" stainless steel, grooved to key to the epoxy.
|
10. The hole was faired out to allow a smooth entry to the tube. |
11. The tube was then epoxied in place.
|
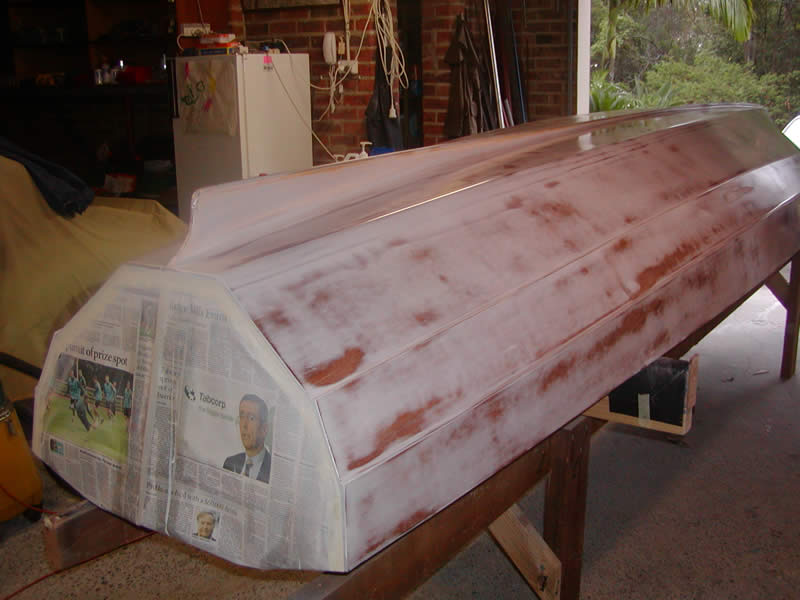
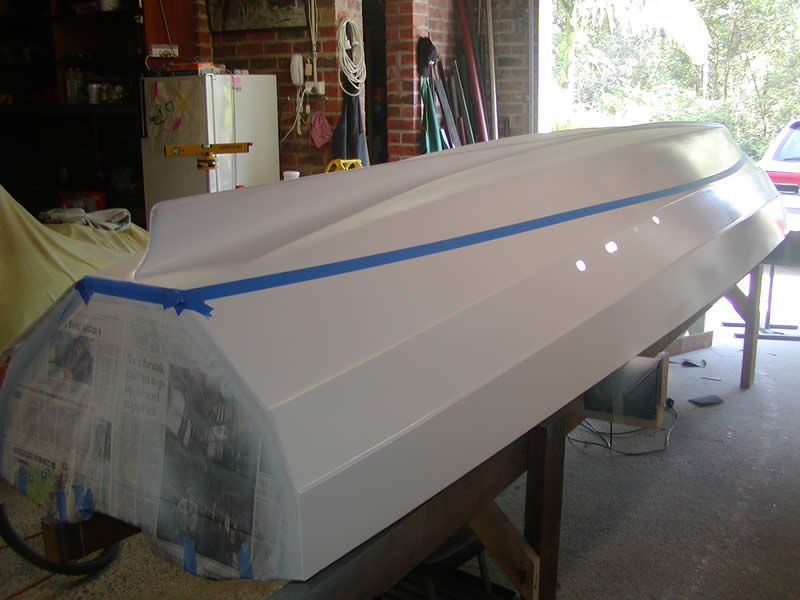
12. Finishing coats have been applied using water based polyurethane marine paint and the water line has been marked with low tack masking tape. |
|
|
|
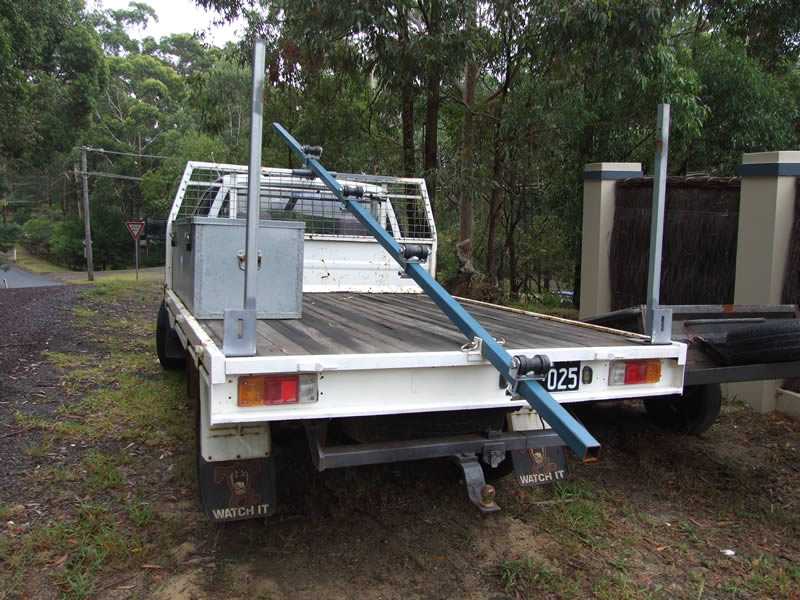
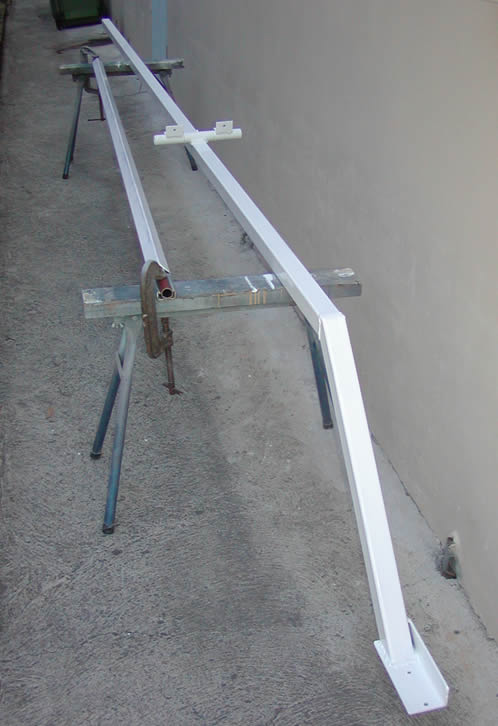
|
13. The water line was originally set out with a laser level when the hull was upright. Here it has been checked after adjustments by eye.
|
14. The first coat of polyurethane is on below the water line.
28th Dec 06 |
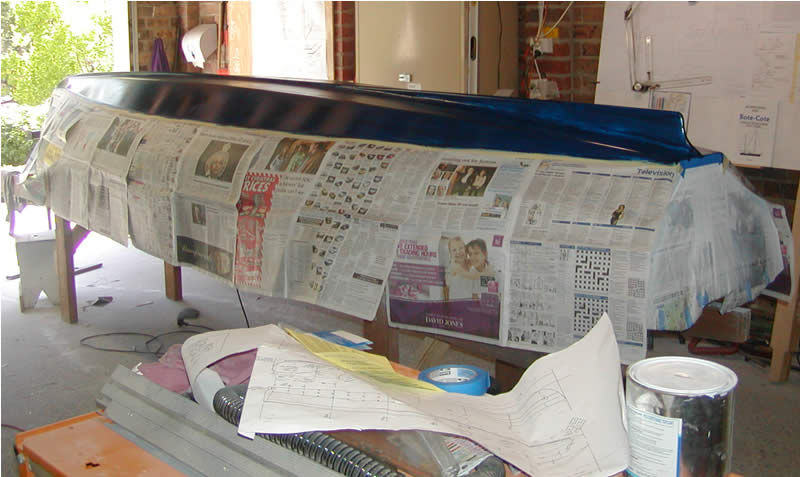
15. Extra coats below the water line and masking removed.
31st Dec 06 |
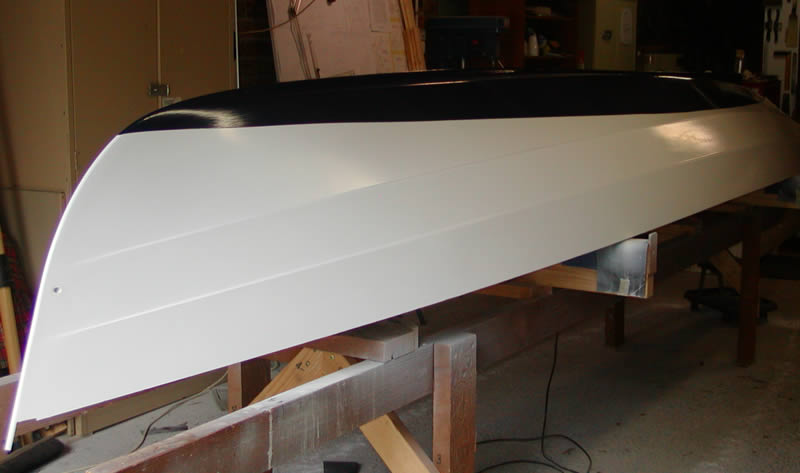
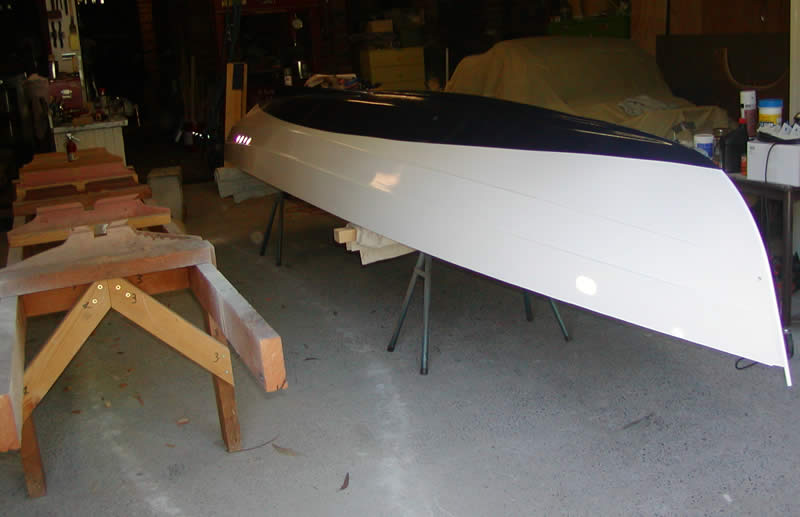
16. Clear coats commenced on the transom. Almost ready to turn the hull over.
2nd Jan 07 |
|
|
|
|
17. Lifted off the jig onto temporary sawhorse stand. The frame supports were notched to take the keel. |
18/19. Finally - the right way up again. The jig supports were covered with carpet strips.
7th Jan 07
|
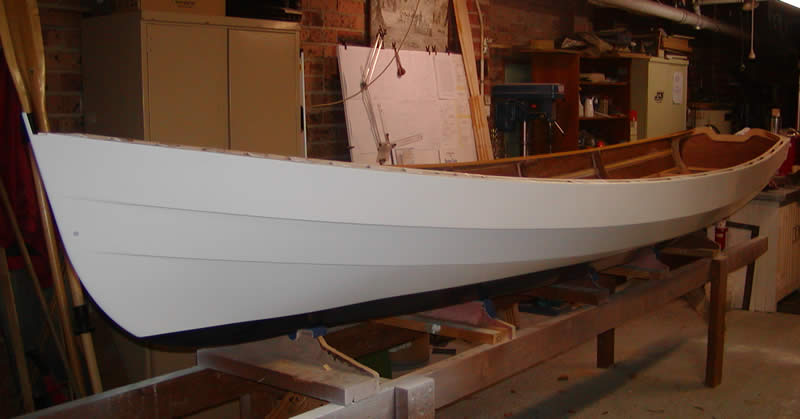
20. The forward and aft seats/airtanks were given a good epoxy coating on the
under surfaces ... |
|
|
|
|
21. ... and the inside of the airtanks were also carefully coated with another layer of epoxy.
|
22/23. I call this a "frenzy of weights". This is what happens when you have all the epoxy mixed and in place and THEN start looking for some weights to hold things down. Planning ahead would be good! |
24. Many, hours & days "Sanding". Sanding is NOT my favourite activity. Less sloppiness with the epoxy would have helped! |
|
|
|
|
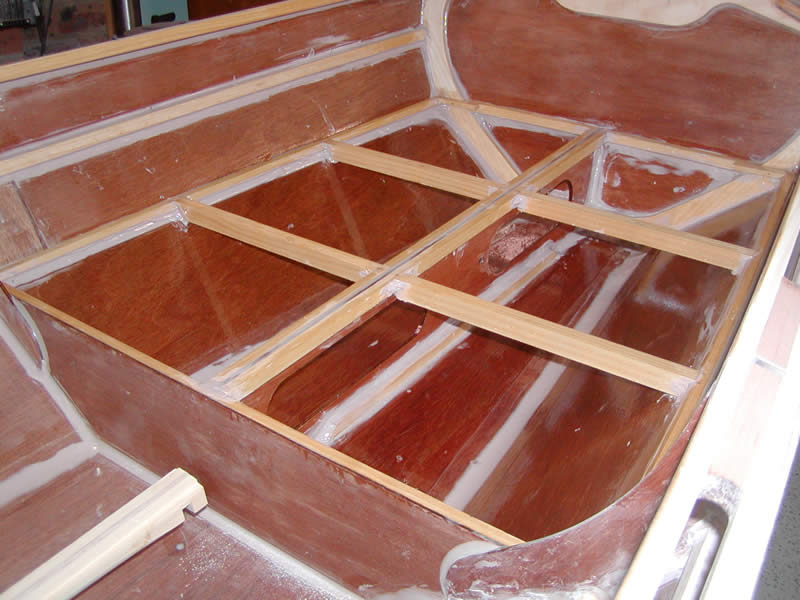
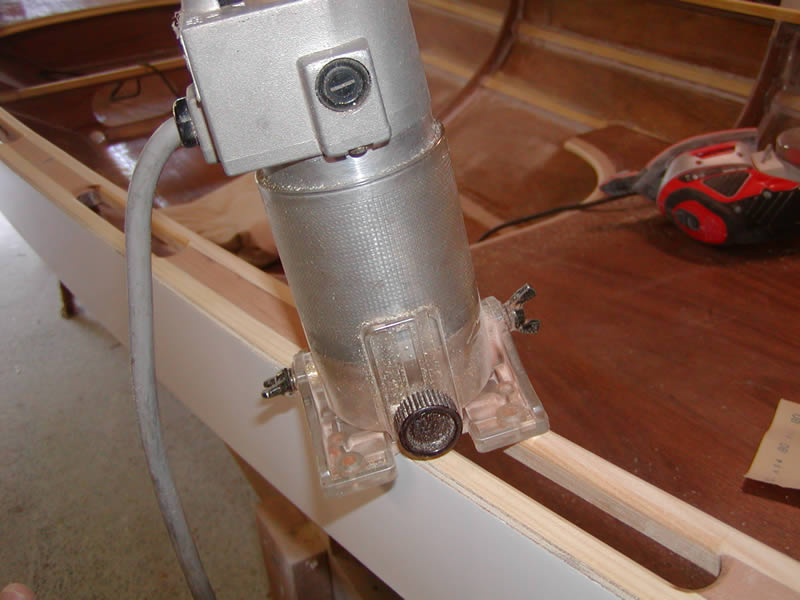
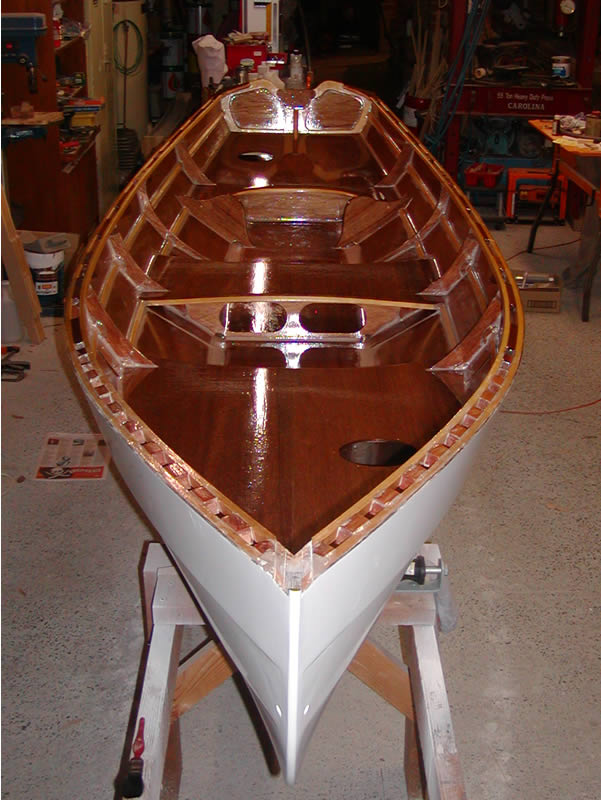
25/26. I started rounding-over the gun'ls by hand but finished the job in 20 minutes with a trimmer router and rounding-over bit. |
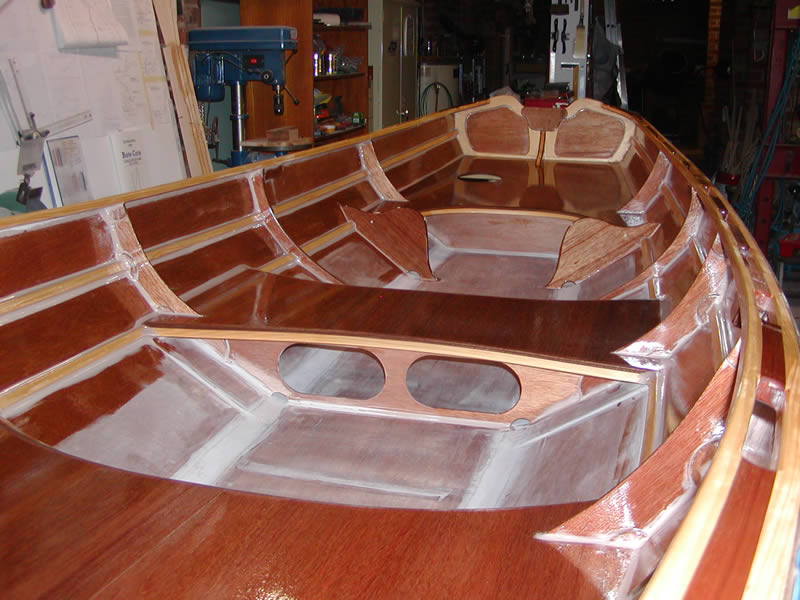
27/28. With all seats epoxied in place I was able to get a preliminary penetrating epoxy coat onto any exposed wood. |
|
|
|
|
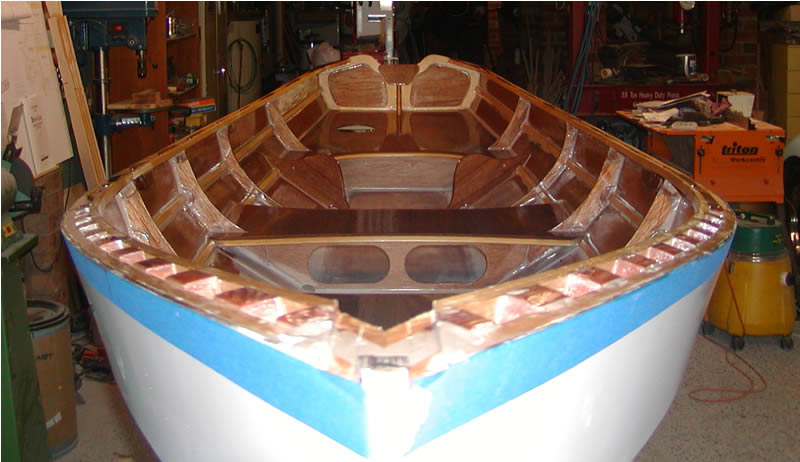
29. If I had user finer fillets of epoxy or perhaps glassed the stringers in place I might have varnished all the interior. The side planks and stringers will be painted white. |
30. The bow section forward of frame one will receive a small covered deck - painting needs to be completed before it goes on.
26th Jan 07 |
31. Work has started on the "truckler" (part truck, part trailer). |
32. It seems a shame that all of this has to be sanded back but the finish is not acceptable yet. |
|
|
|
|
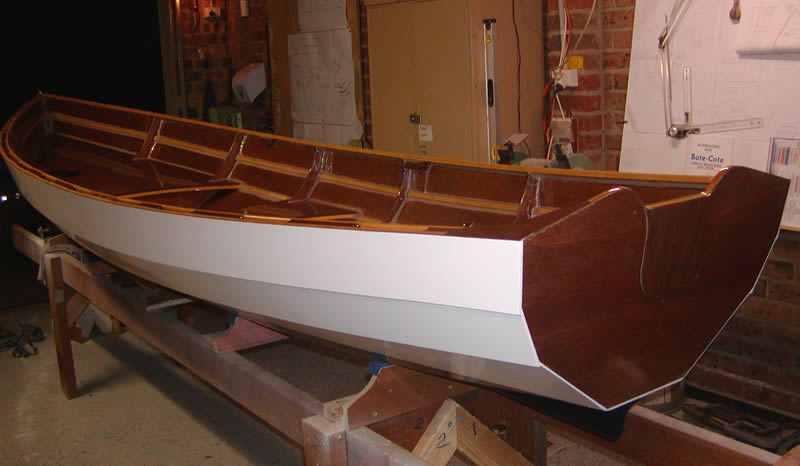
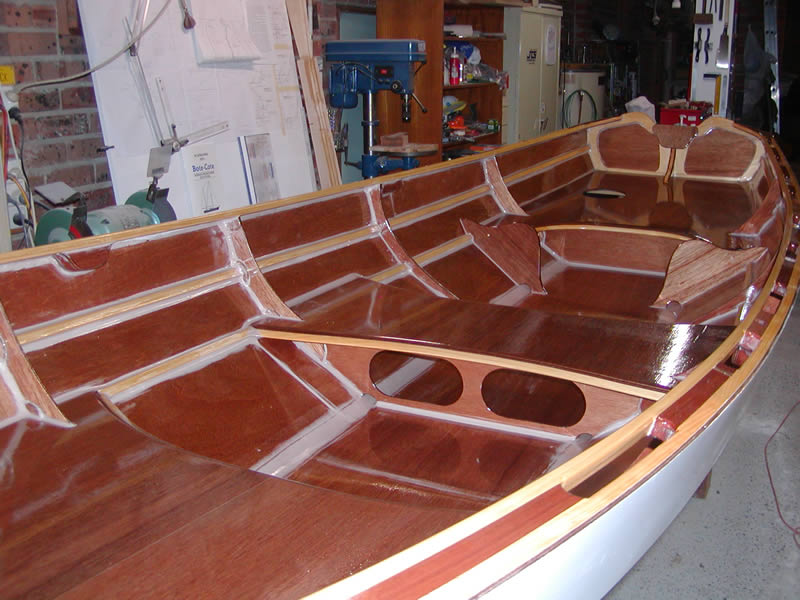
33/34/35.
A few more coats of resin with Non Yellowing hardener have gone on the inside. This will be the base for the polyurethane UV finish - clear on the seats, transom, yet-to-be-added foredeck and gun'ls. The rest white.
1st Feb 07 |
36. The winch support on the "truckler" has been fitted (upside down here) and the telescoping extender tube is painted. |